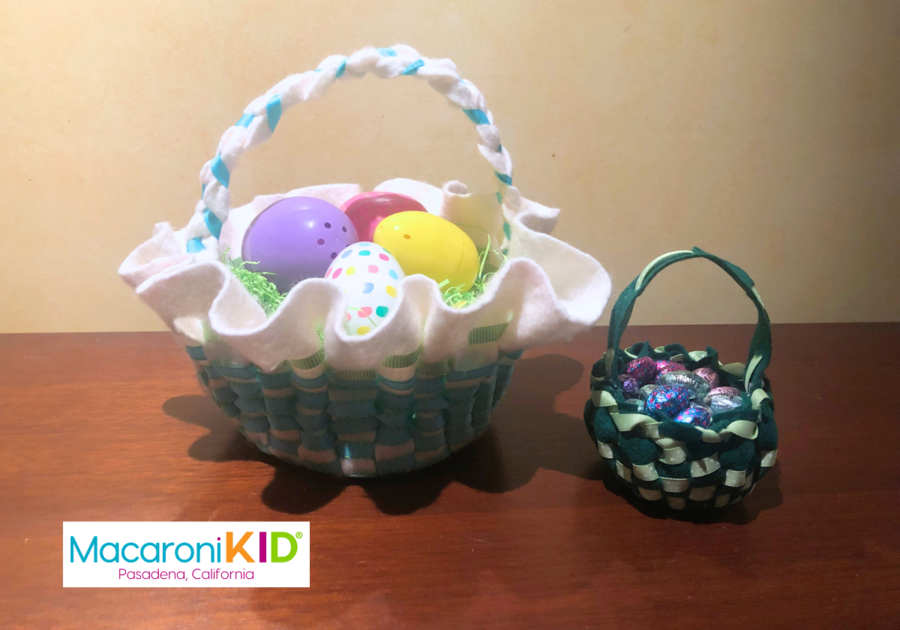
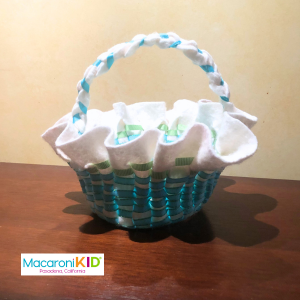
Beautiful Felt Baskets 2 Ways: A Version for Kids and a Version for Moms | |||||
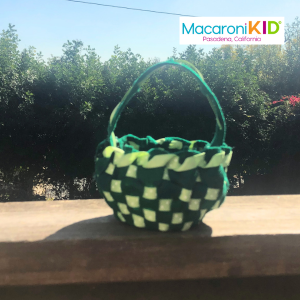
 | Felt Mini-Baskets Improve fine motor skills and create a fun spring basket | ||||
| Supplies: |
|  | |||
| Instructions: | |||||
1. CUT Using this template, cut an 8-in circle from the felt. Trace a 2-in circle in the center, using chalk. Mark off even increments around the outside of the circle, 1 in between each is good length, but you’ll want to be sure to have an even number of felt spokes and an odd number of slits. | 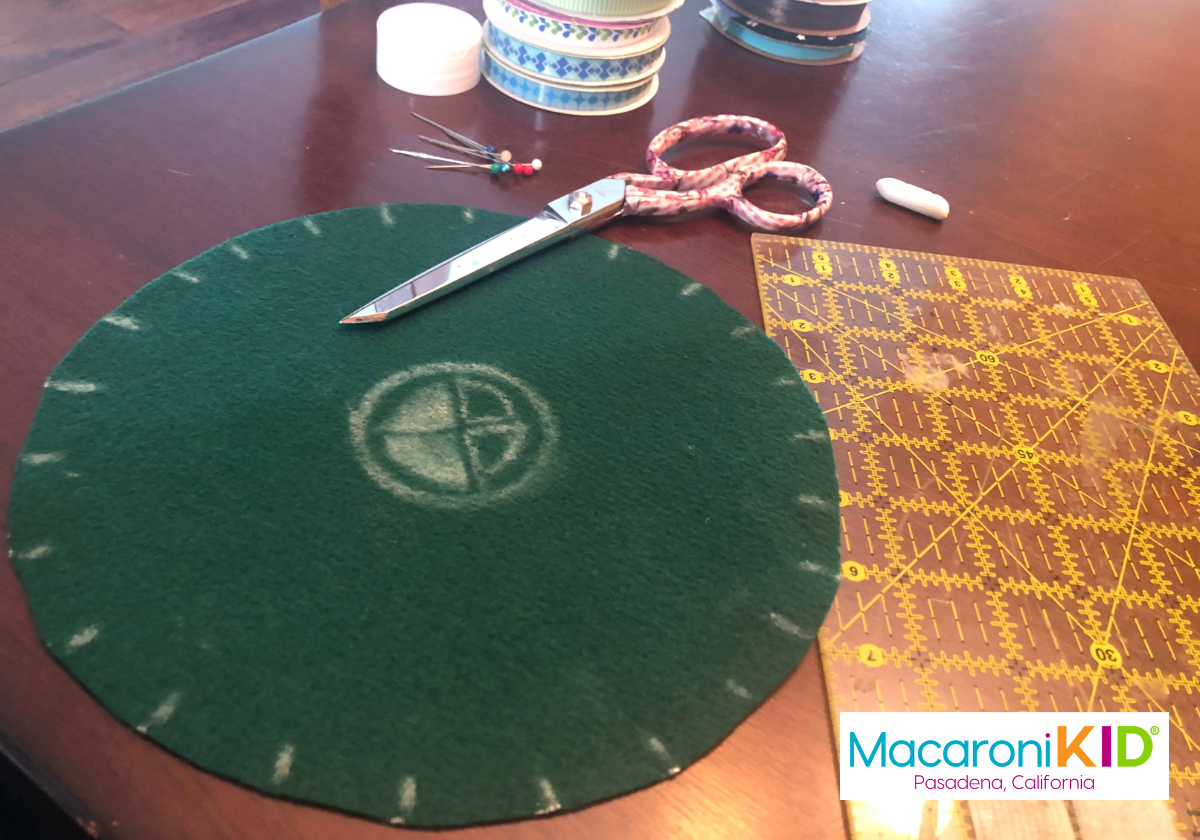 | ||||
2. WEAVE Secure the ribbon to the inside circle with a safety pin. Weave the ribbon over and under each spoke around in a circle.Upon your second or third (or even fourth) time around, you can pull the ribbon tighter to begin making the basket into a 3-dimensional rounded shape. |  | ||||
3. GLUE When you get to the end of the weaving (near the top rim of the basket, cut the ribbon off. Your grown-up can help you hot glue the end of the ribbon in place. Then remove the safety pin and glue the beginning end of the ribbon in place as well. | |||||
4. RIM Optional: Use your hole punch to make holes around the top rim of the basket and wrap the same (or a different) ribbon over the top edge and through the holes. It’s ok if the holes aren’t perfectly round, you just need to be able to slip the ribbon through them. | 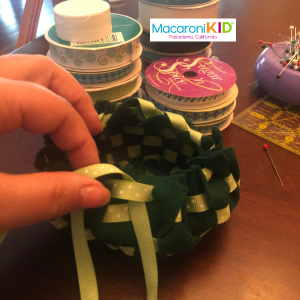 | ||||
5. HANDLE Cut a 1-in strip if felt using the remaining piece of felt. Punch several holes down the length of it using your hole punch and weave the ribbon through them. Have your grown-up help you glue the ends in place on the inside bottom of the basket. Your completed basket will be about the size of a softball. | |||||
 | Make it upscale! Grown-ups can make an elegant version for your Easter table | ||||
| Supplies: |
|  | |||
| Instructions: | 1. Machine wash and tumble dry the wool felt on hot to shrink it. The felt will become thick and beautiful. You may need to de-pill and iron it flat after it’s dried. If you’d like to stiffen the felt, iron with a heavy application of spray starch; if you’d like to stiffen the felt even more, drench the felt in liquid starch, allow to dry flat overnight, then iron to smooth. | ||||
2. Follow step 1 (CUT) above, using a larger scale. 14 inches or more is a good size for the outer circle, with a 5 inch inner circle. | 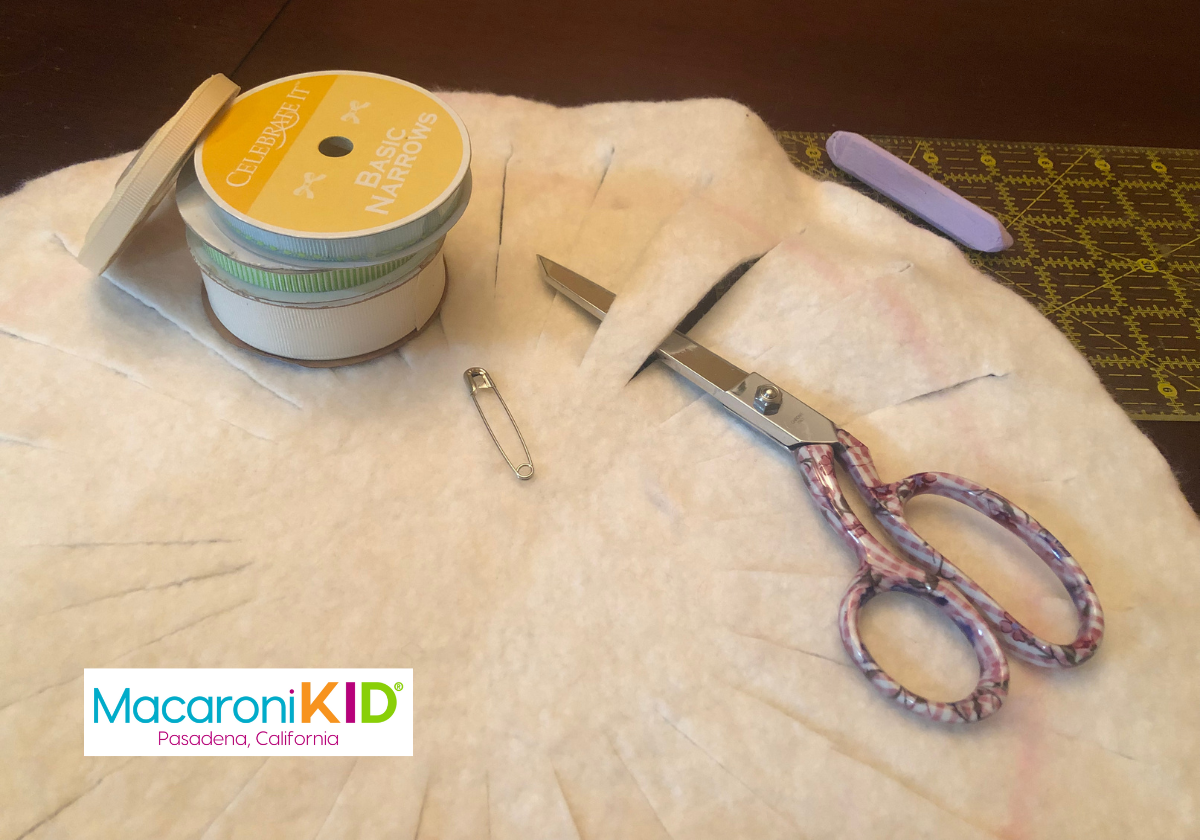 | ||||
3. Follow Step 2 (WEAVE). The larger basket will require more ribbon. With 3/8 in ribbon, it will take about 12 yards to make a 14-inch basket, but the wider the ribbon, the less yardage you'll require. Once you’ve woven the ribbon all the way through, secure the ribbon ends with a few tight stitches using needle and like-colored thread. Skip Step 3 (GLUE). | |||||
4. If you opt for a ribbon decorated rim, follow step 4 (RIM), using a leather punch or awl to accommodate the thicker wool felt. | |||||
5. Follow Step 5 (HANDLE), but when attaching the handle, weave the felt strip down through the ribbon on the inside on the basket walls. Stitch to the bottom to secure. Your completed basket will be a little smaller than a basketball. | 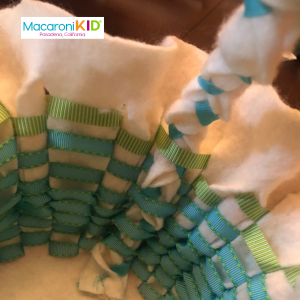 | ||||