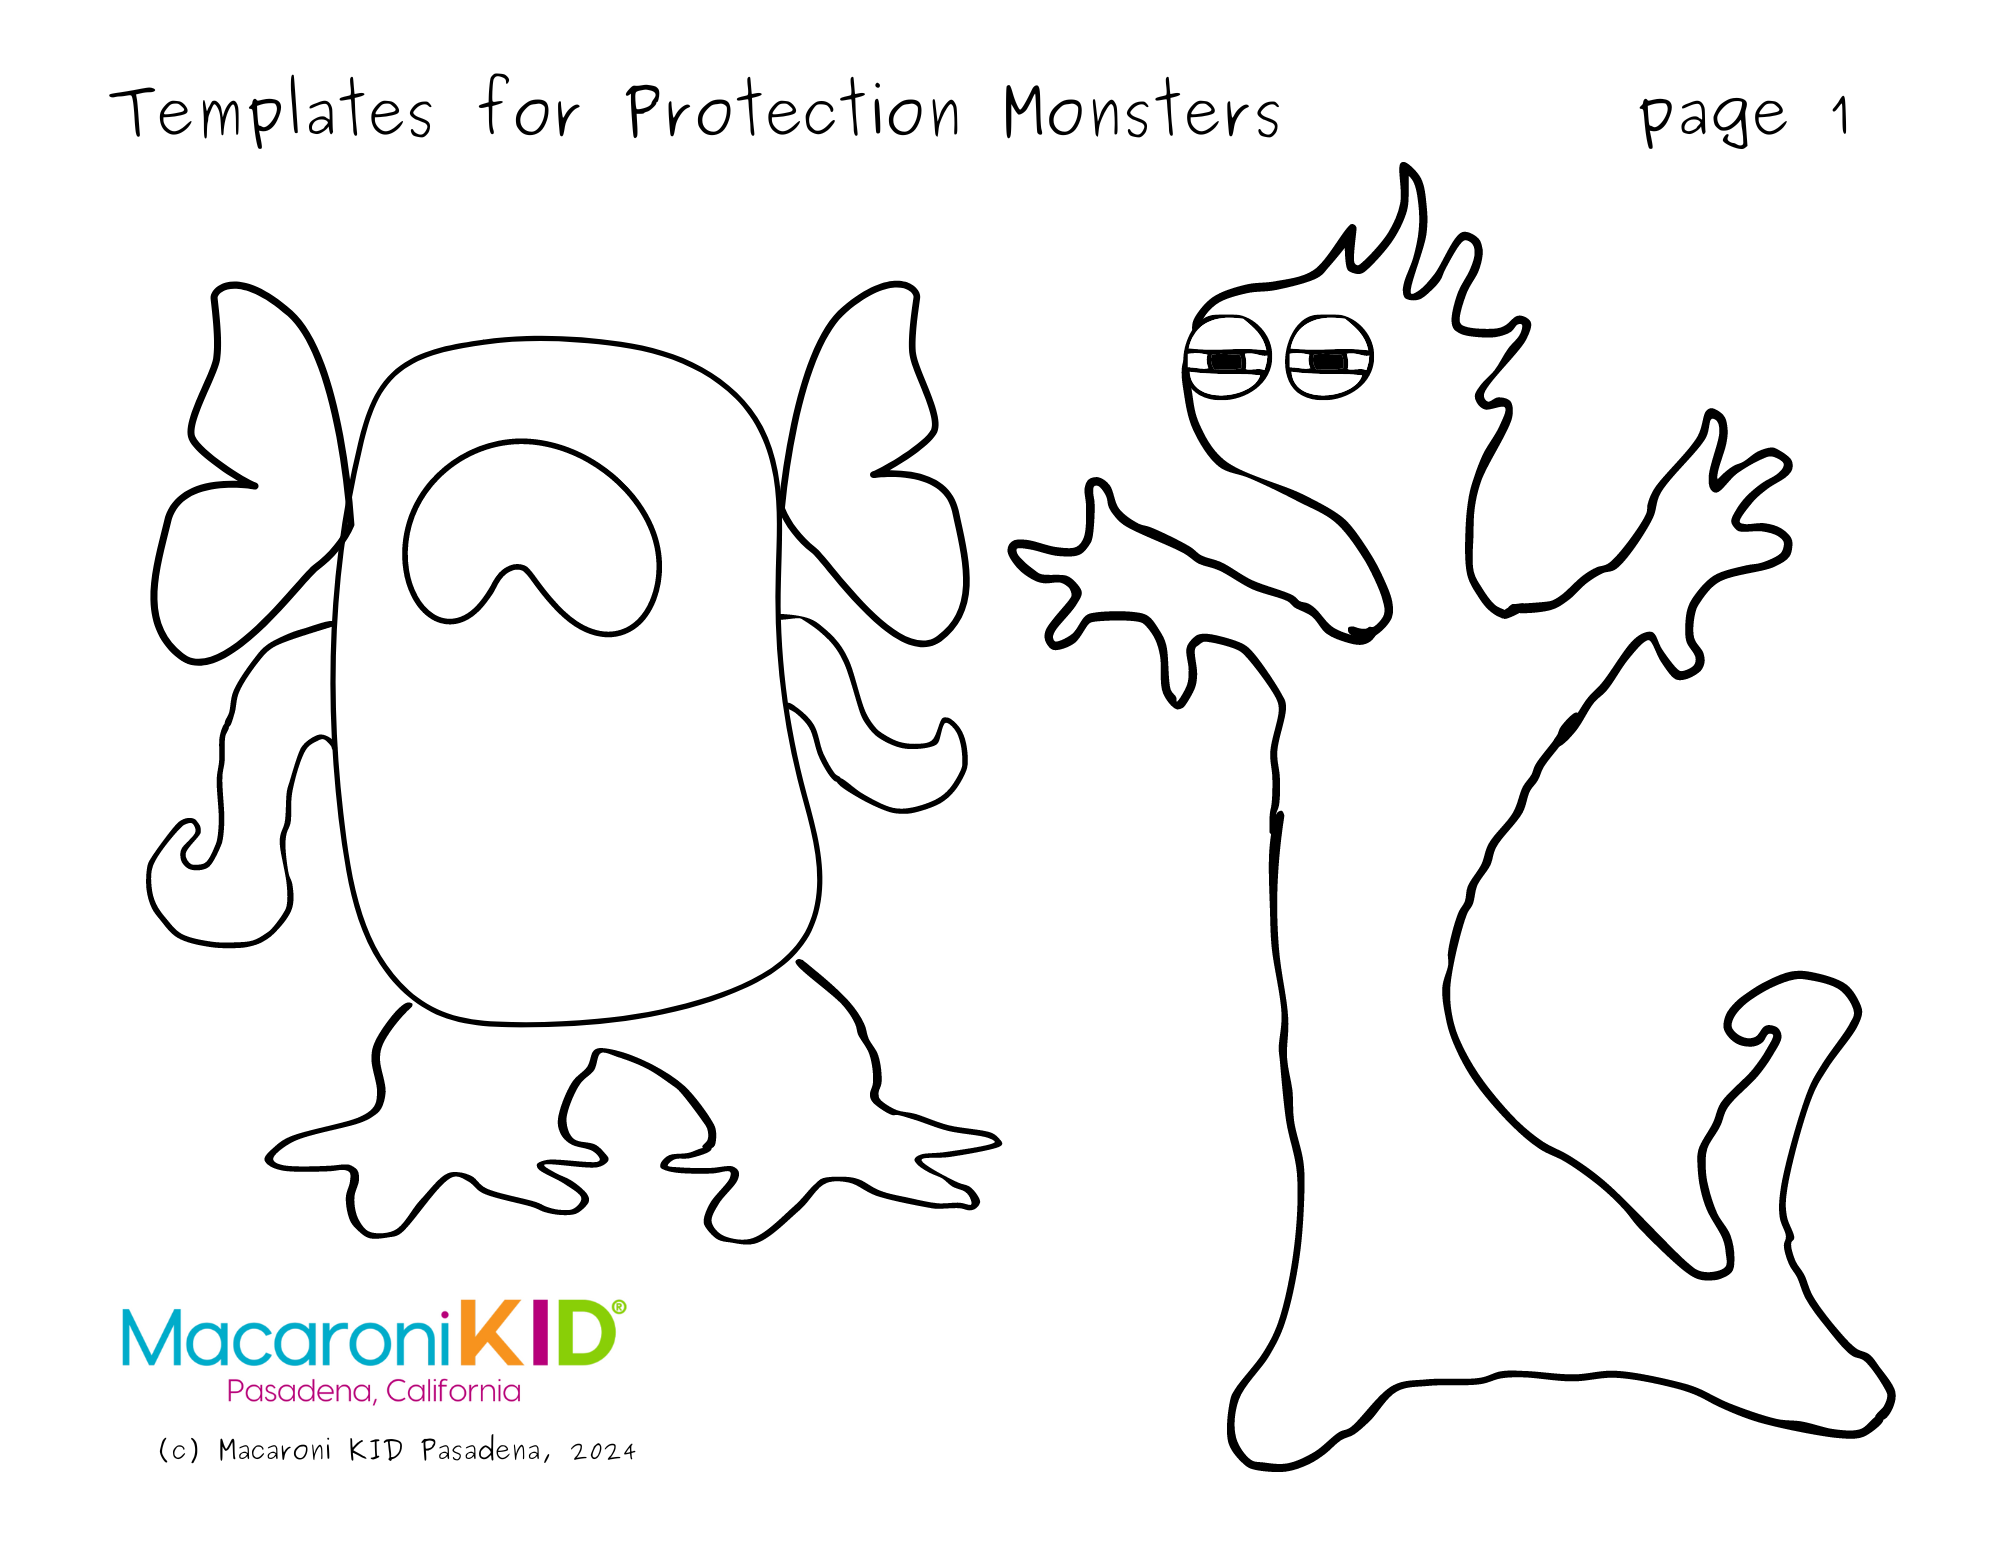
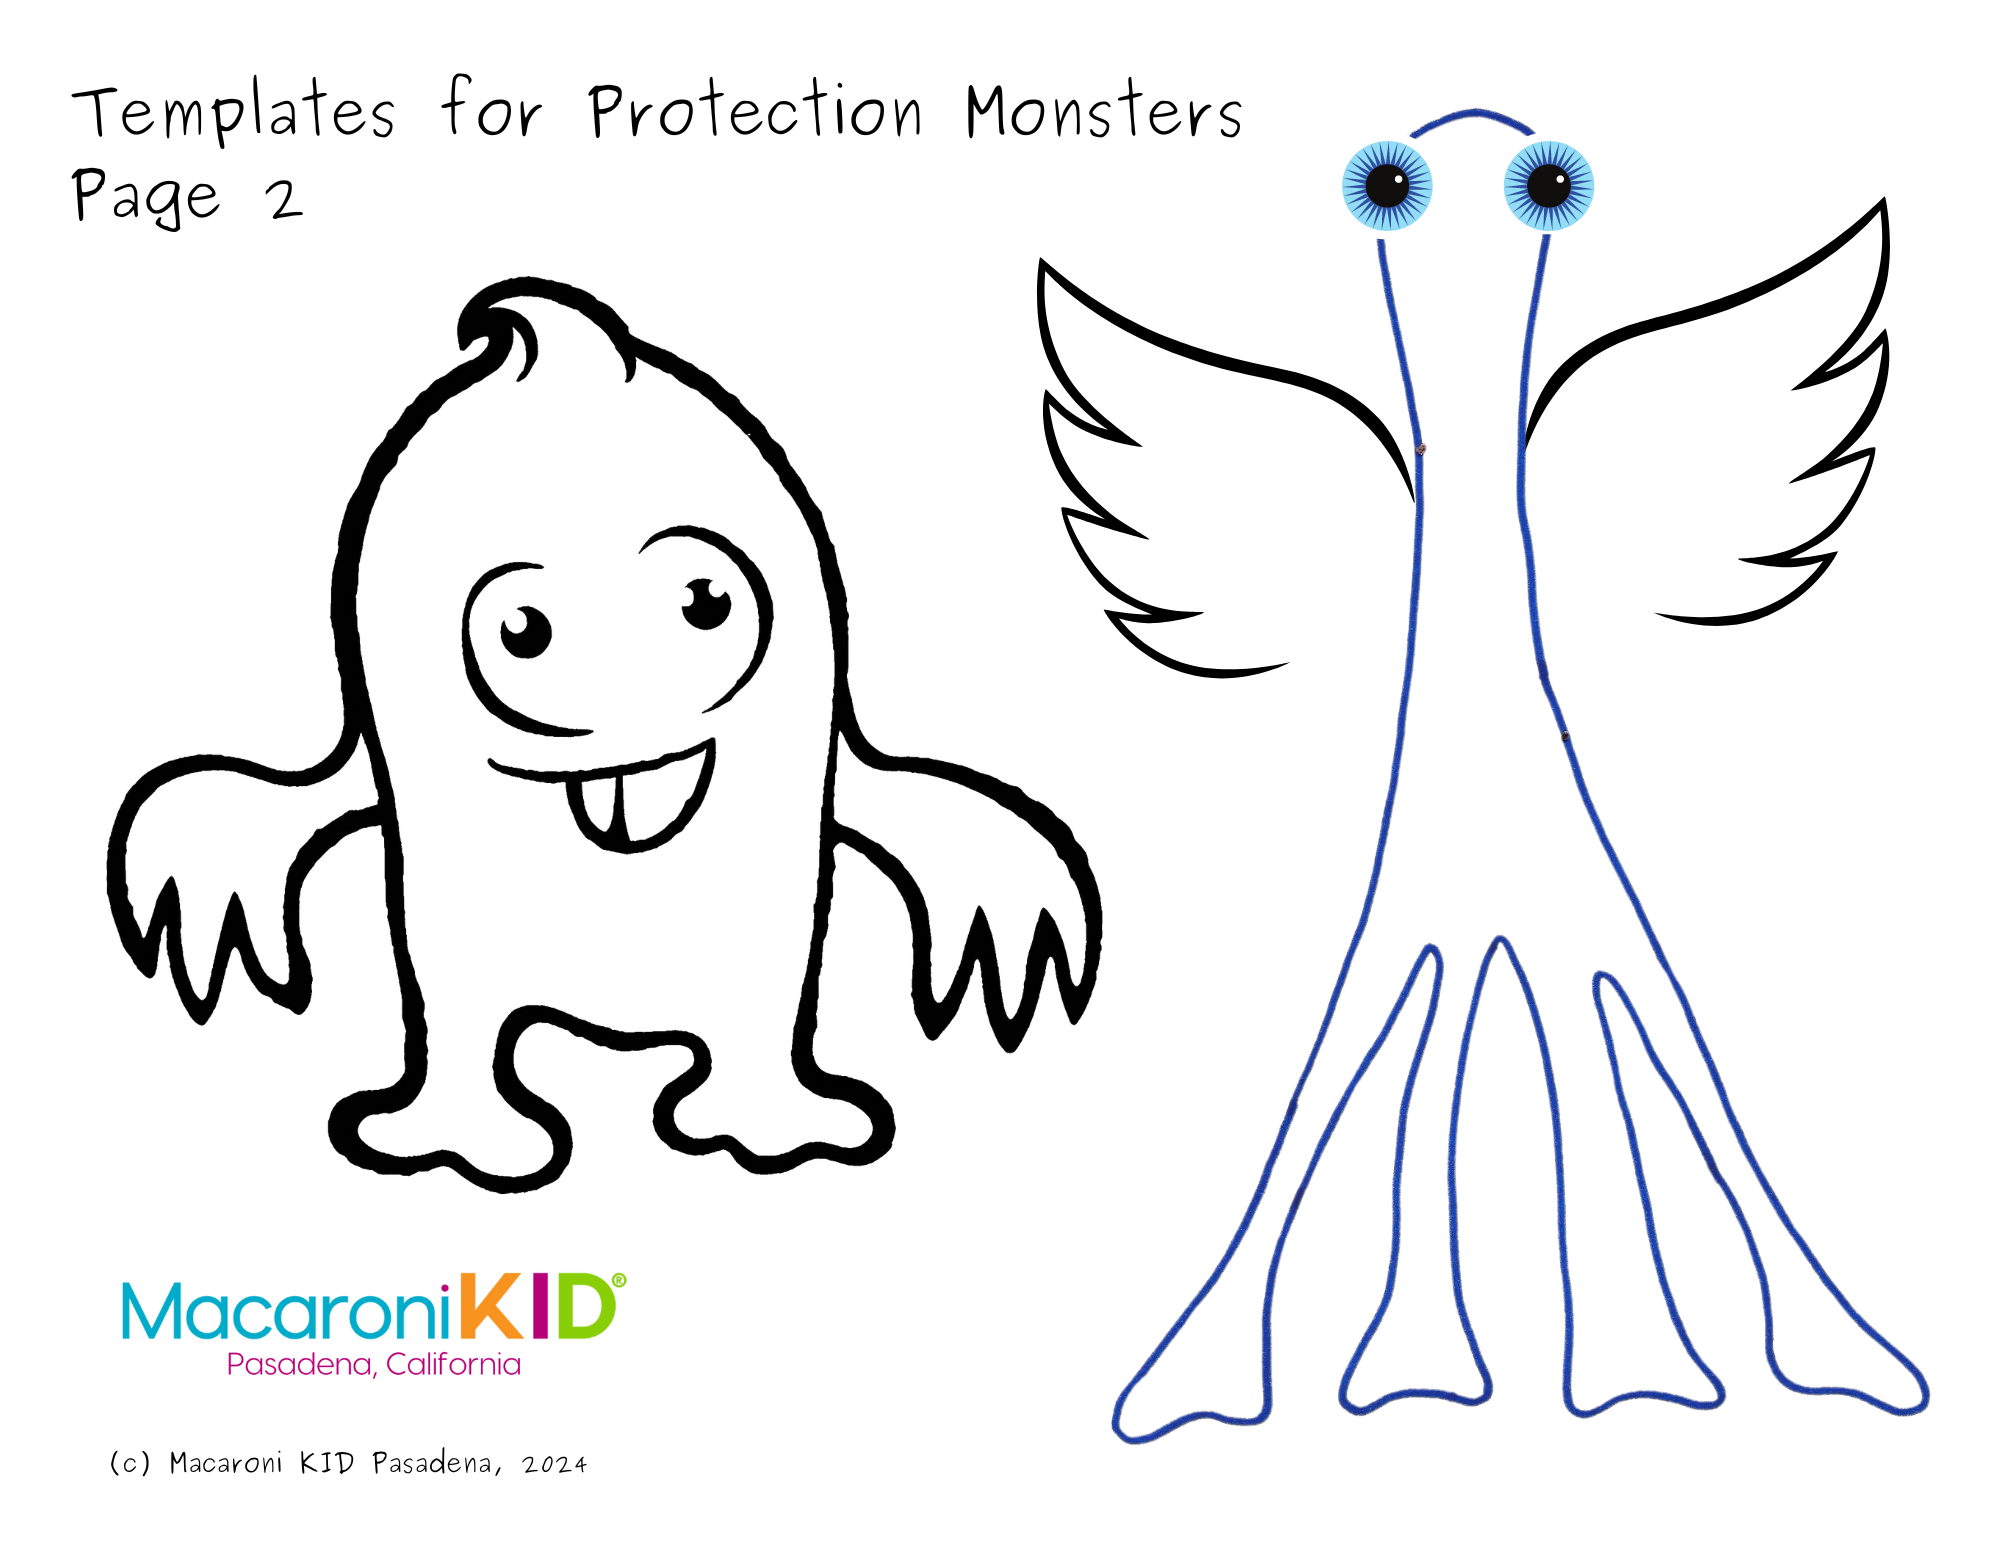
| Instructions: - Print the Monster Templates, if using. If you are using your imagination instead, decide on the general shape you’d like to start with for your monster’s body, and draw it on a piece of paper.
- Cut the basic outer shape of the paper monster and trace it onto the cardboard. It’s better to cut the cardboard shape slightly too small than too large.
- Now trace the template onto the felt twice: once for the front, then flip it over and trace it again for the monster’s back. If you can cut the felt slightly larger than the cardboard, that’s better than too small. The felt can be the same color for front and back or different colors.
- Working atop a drop cloth, take all three pieces and glue them together like a sandwich with the cardboard in the middle. Press the edges of the felt together if possible. You can also trim them if they are uneven.
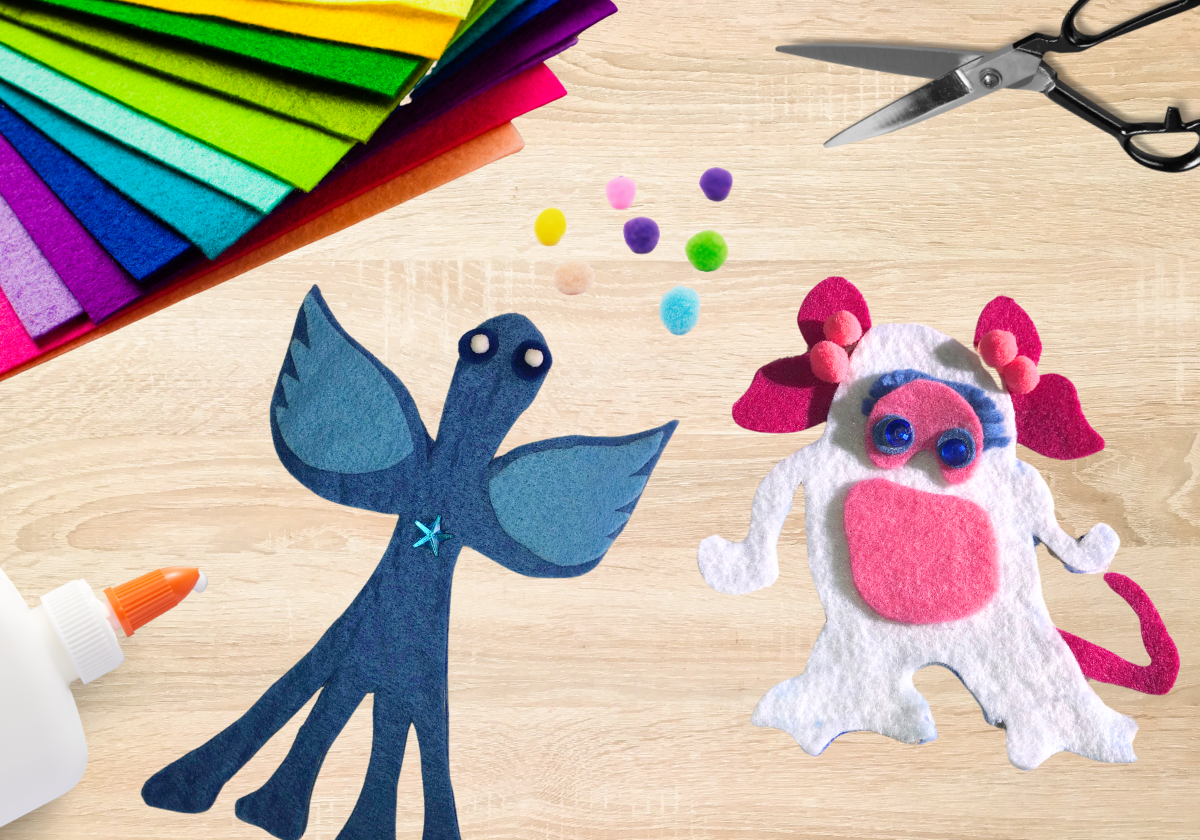
- Using scraps of felt in a variety of colors, cut out additional shapes for eyes, tail, horns, scales, underbelly, clothing, or whatever you’d like to include. Glue the various pieces and embellishments onto your monster. This will also give your monster some personality, so be creative! Felt can soak up glue, so apply it liberally.
- Your monster needs to sleep a bit now, so that he will be wide awake when it’s time for you to go to bed. Let him lay still while the glue dries and select a location near your bed as your monster’s guard station. This is also a good time to give your monster a name.
- When it’s time to go to bed, place your Protection Monster at his (or her) guard station and let him (or her) know that he (or she) is on duty until you get up in the morning.
Enjoy a good night’s sleep! |
|


