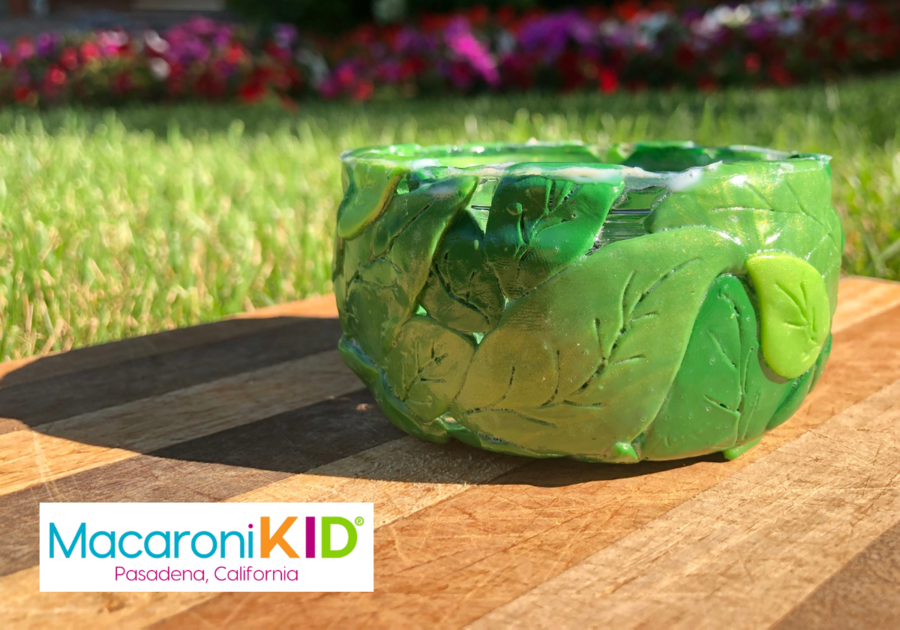
| This cute little dish is easy to make, can be personalized in so many ways, and makes a great gift. I started with a used glass dessert cup, but you could use anything glass that you have to recycle or find in a thrift shop. A used votive holder or small jar come to mind as great base materials. If your dish has a metal lid, that can also be decorated the same way; just keep them detached from each other while baking. | ||
 | ||
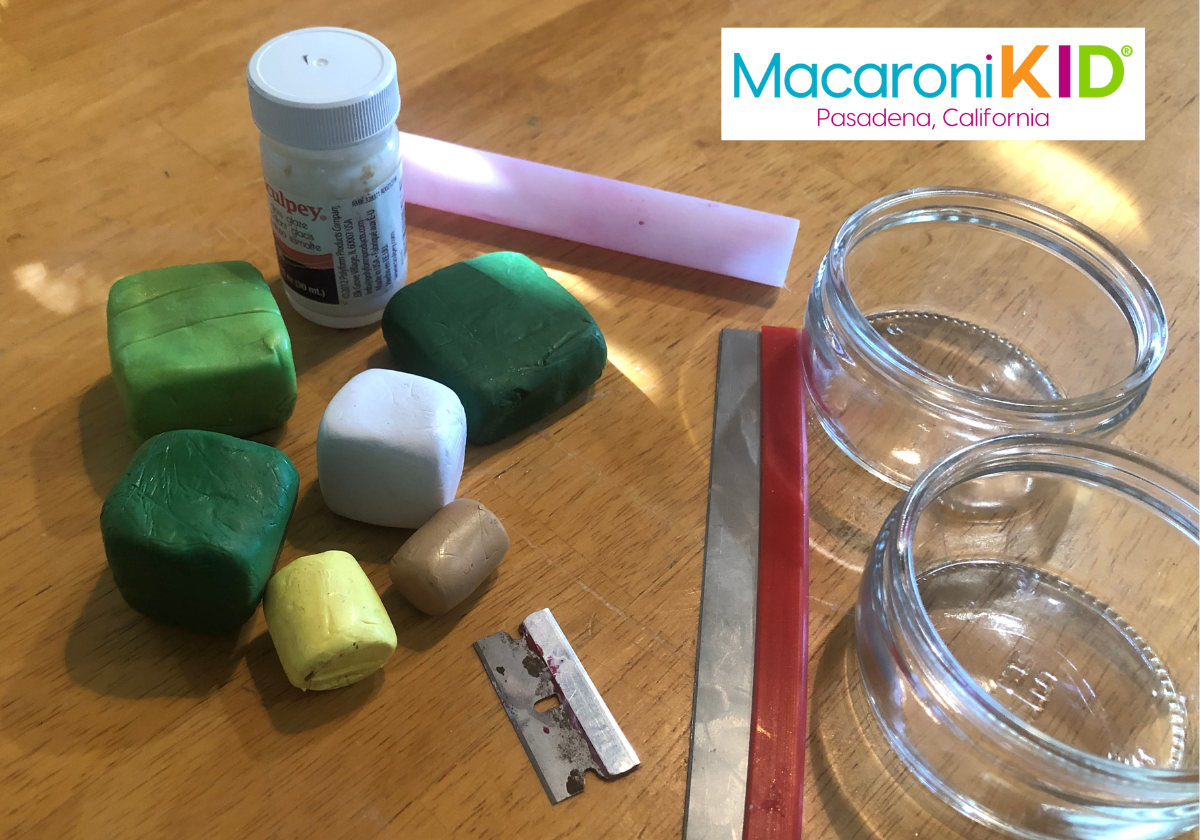
Supplies: * polymer clay in two different shades of green * a small glass dish, clean and dry * a smooth, flexible placemat (or plastic drop cloth) to work on top of * a clay-dedicated rolling pin or acrylic roller * small leaf-shaped cookie cutters, optional * a razor blade, Xacto knife and / or cutting tool * an awl, pin drill, piercing tool and / or toothpick * a small piece of parchment paper * clear top glaze or gloss (or clear topcoat nail polish) | ||
 | ||
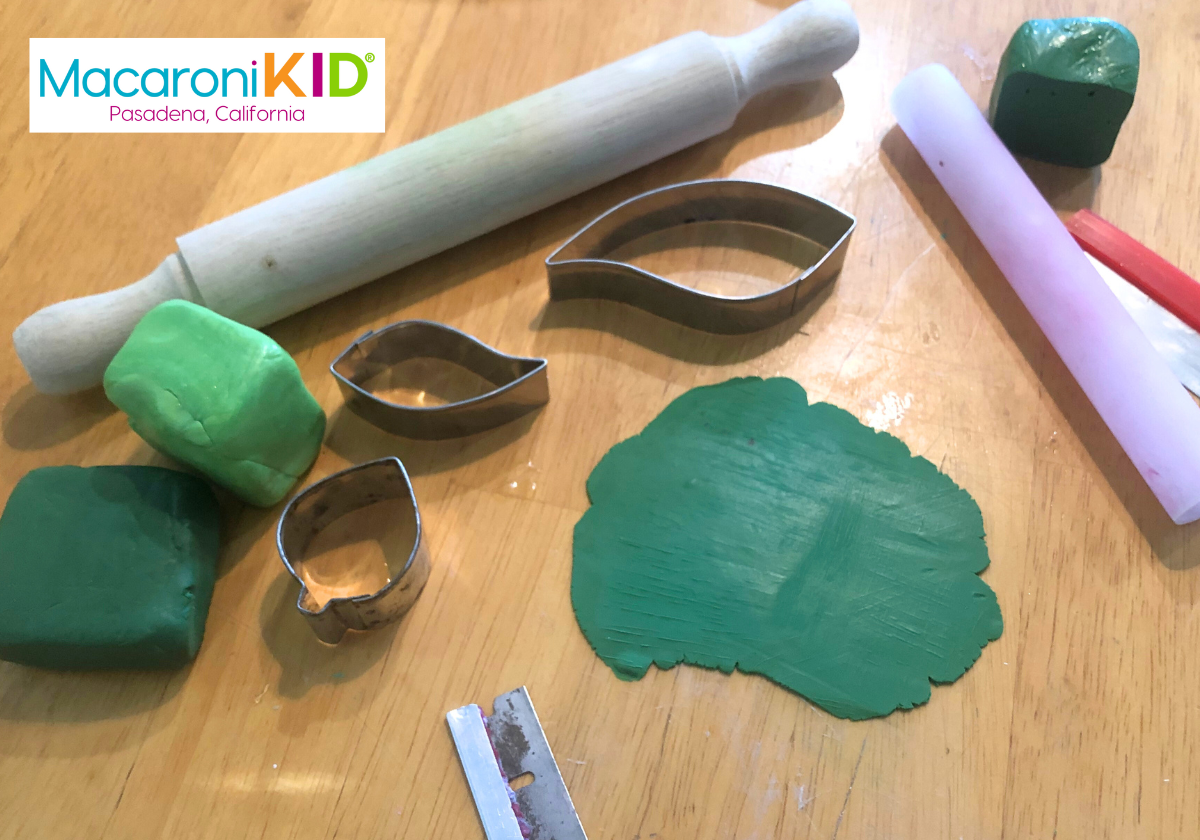
Instructions: 1. Start by conditioning your clay. Break a chunk off the block and roll it in your hands. It will start out brittle and a bit crumbly, but the more you roll and squish it the softer it will become, making it easier and easier to work with. I often begin by pressing it into the tabletop, turning it and pressing it again several times before rolling it into a ball or a snake. Prep both shades of polymer clay. When a chunk of each color is soft and pliable, you are ready to start making the leaves. 2. Flatten the first piece using your roller, creating rough-edged disc about 1/8th of an inch thick. You don’t want much variation in thickness, but you can just eyeball it. 3. If you have small leaf-shaped or oval cookie cutters, cut several in each shade of green. Otherwise, use a razor blade or knife tip to freehand leaf shapes in various sizes. | ||
 | ||
4. To peel the leaves up off your workspace tabletop, you may need to slide a cutting tool underneath. If you are working on a smooth plastic placemat, you can pick up the placemat and peel it off the leaf shapes, releasing them into your hand. 5. Once you’ve cut several, twist the remaining pieces of polymer clay tother in a long snake, twisting the two colors around each other. Coil them into a disc and use your roller to smooth them out. You can press the seams together with your fingertips to help the rolling process. If you aren’t thrilled with the twisting pattern, peel up the clay and flip it over. The other side might have a prettier marbling. The more you work the colors together, the more homogenous and less marbled they will become. 6. Cut out several more leaf shapes from the variegated clay. | ||
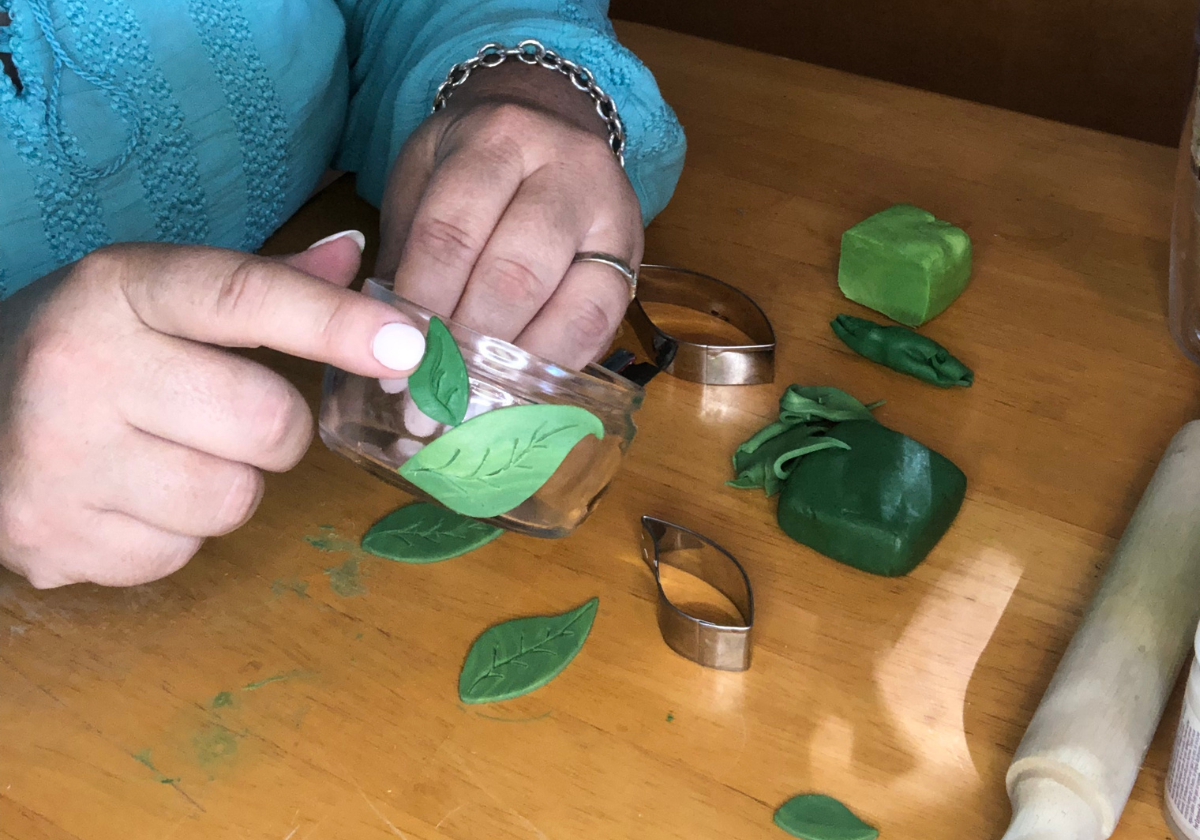 | ||
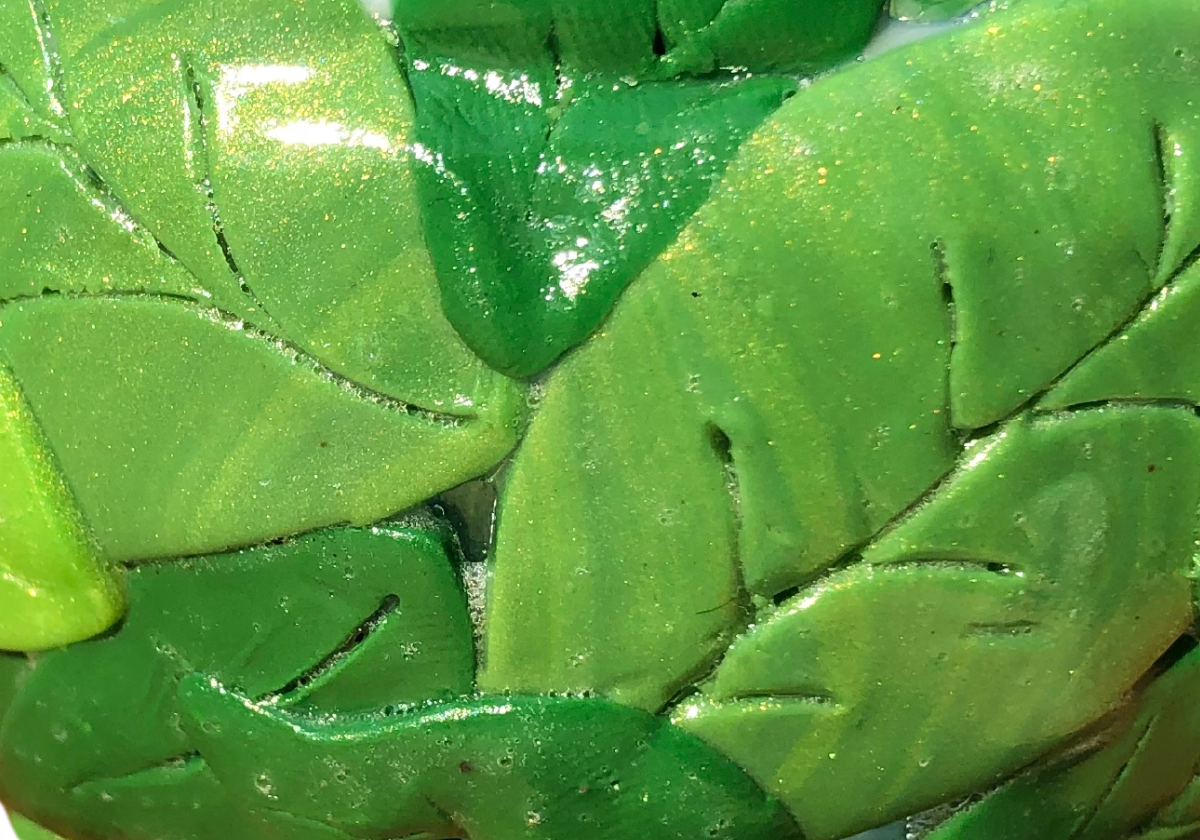
7. Begin laying your leaves over the outside of the glass dish, facing in different directions. Vary light and dark green in a random pattern.Overlap the edges and leave random-sized gaps between leaves. Press the leaves down onto the glass and smooth out the edges at the same time. Each piece of polymer clay should take on the shape of the glass underneath it. 8. Once the dish is mostly covered, use your awl or toothpick to sketch leaf veins into each of the leaves. This need not be perfect; nature rarely is. Smooth out the veins with your fingertip. 9. Roll out the remaining clay and cut a few more small leaves. Place them over the larger gaps, overlapping atop larger leaves. Be sure to cover the bottom of the dish, too. Draw veins on those and smooth them out while pressing them into the leaves underneath them. | ||
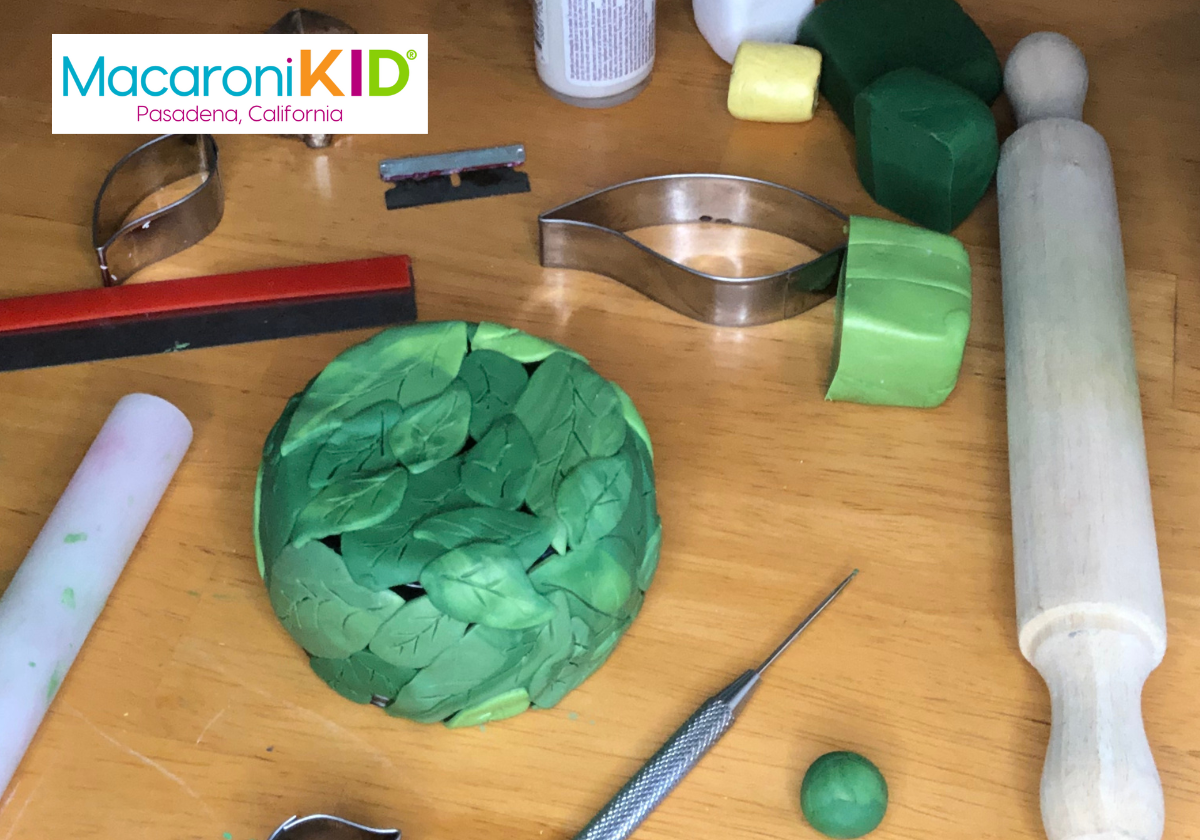 | ||
10. When your dish is fully covered and you are pleased with the design, put your clay and tools away. Carefully wrap each remaining chunk of polymer clay in plastic film and then store them all in an air-tight container or zipper bag. Next time you use it, the pre-conditioned clay will be easier to work. Pre-heat your oven to 275 degrees or the temperature listed on the package instructions. 11. Place your dish upside down on a cookie sheet with a piece or parchment paper in between. Bake per package instructions, approximately 25 to 40 minutes depending upon the thickness of the clay on the finished dish. 12. Allow the dish to cool completely before finishing with top glaze. The glaze is an important step because it not only makes the clay shiny, but also protects it.Without this protective layer, the clay will likely chip over time. 13. Laying the dish upside down over the same parchment paper, paint it over completely with clear gloss. Spray glaze works well, too, spraying in small bursts to cover in a thin coat. Spray glaze or thinner topcoats may require two coats applied an hour apart. Allow it to dry overnight, up to 24 hours per package instructions. 14. Enjoy your beautiful new leafy catchall dish or gift it to a loved one. | ||