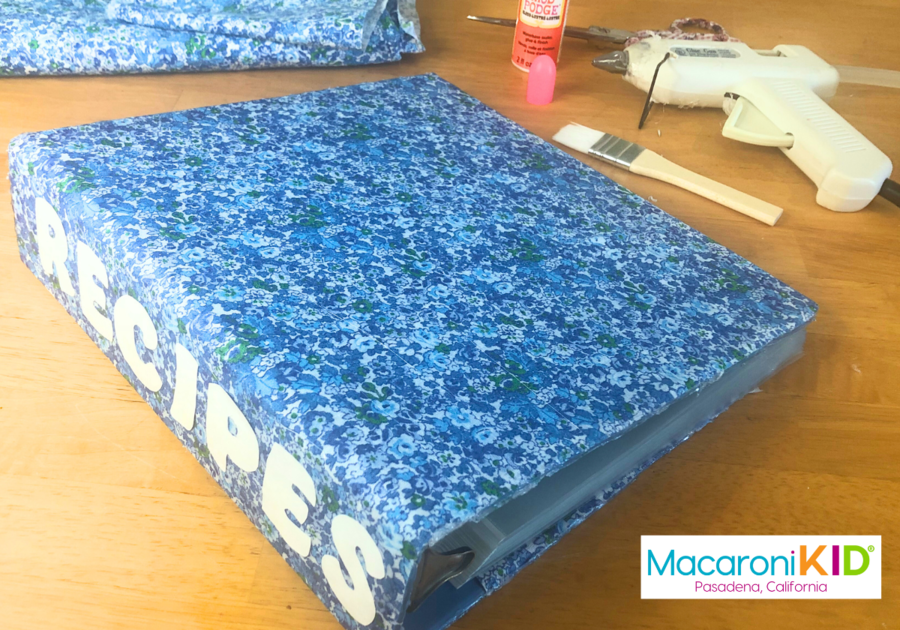
| We know it’s better for the planet (and our wallets) to reuse items instead of replacing them, but using a plain binder in last year’s favorite color isn’t always exciting. Here’s an easy, fun way to renew an otherwise perfectly good 3-ring binder and make it fit your style! | ||
Supplies:
| ||
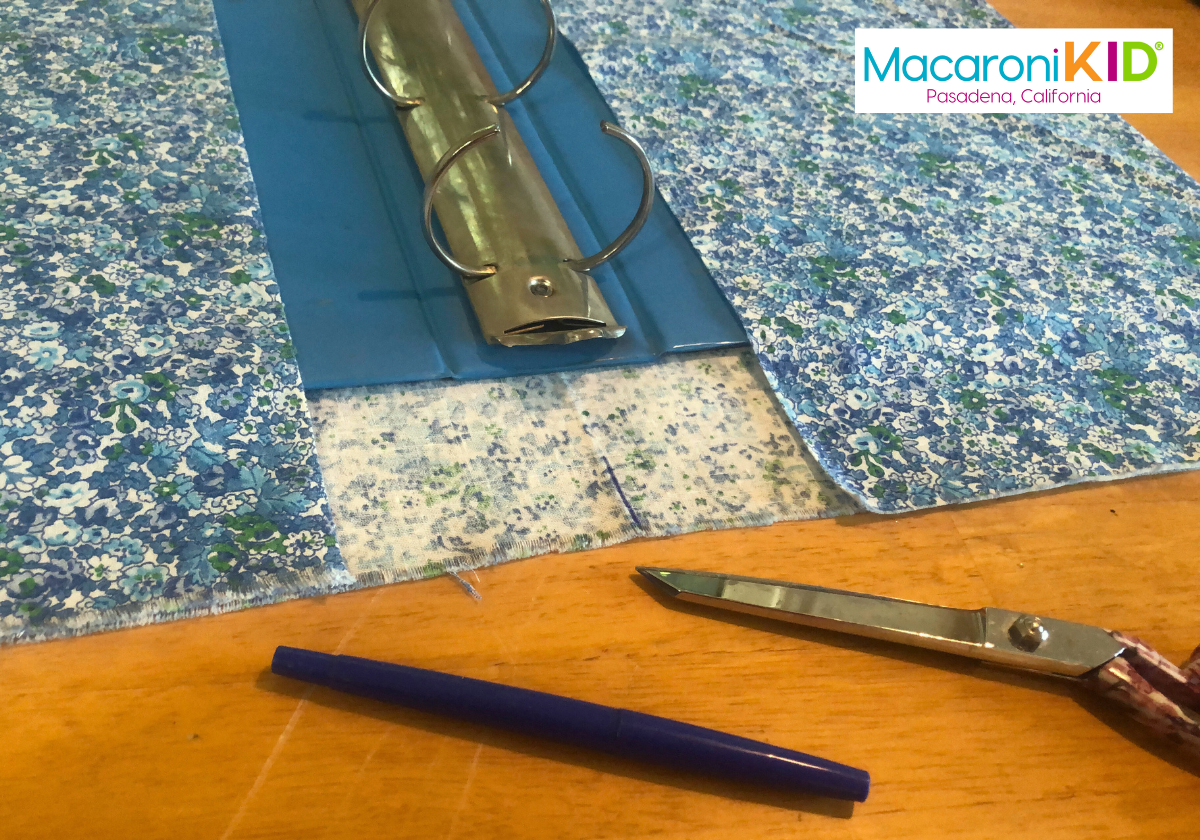 | ||
Instructions: 1. Source the right amount of cover material. Typically, 3-ring binders are just under 12 inches tall, so you’ll need material that is at least 12 inches wide to cover it. Measure the width of the cover, multiply it by 3, and add the width of the spine. A 2.5-inch binder with an 11-inch wide cover will yield a measurement of (11x3)+2.5=35.5, so in this case you’ll need at least 35.5 inches of length. Fabric typically comes in widths of anywhere between 36 and 60 inches, making it ideal; you’ll need about a ½ yard. If you prefer to work with scrapbooking papers, follow the same measurement process and source enough of the same or coordinating papers. In the measurement example above, you’ll need 3 large square (12x12) papers. Prepare your material. If using fabric for the cover, consider ironing it to remove any wrinkles or fold lines. If using scrapbooking paper, lay two or more pieces face-down, side by side and tape them together with one long strip of tape per seam (on the non-printed side only). Then, if you haven’t already, lay your material face-down on a table. Measure the length of the material to find the center and make a small mark near both the top and the bottom with pencil or chalk on the reverse side (the side without the pattern). | ||
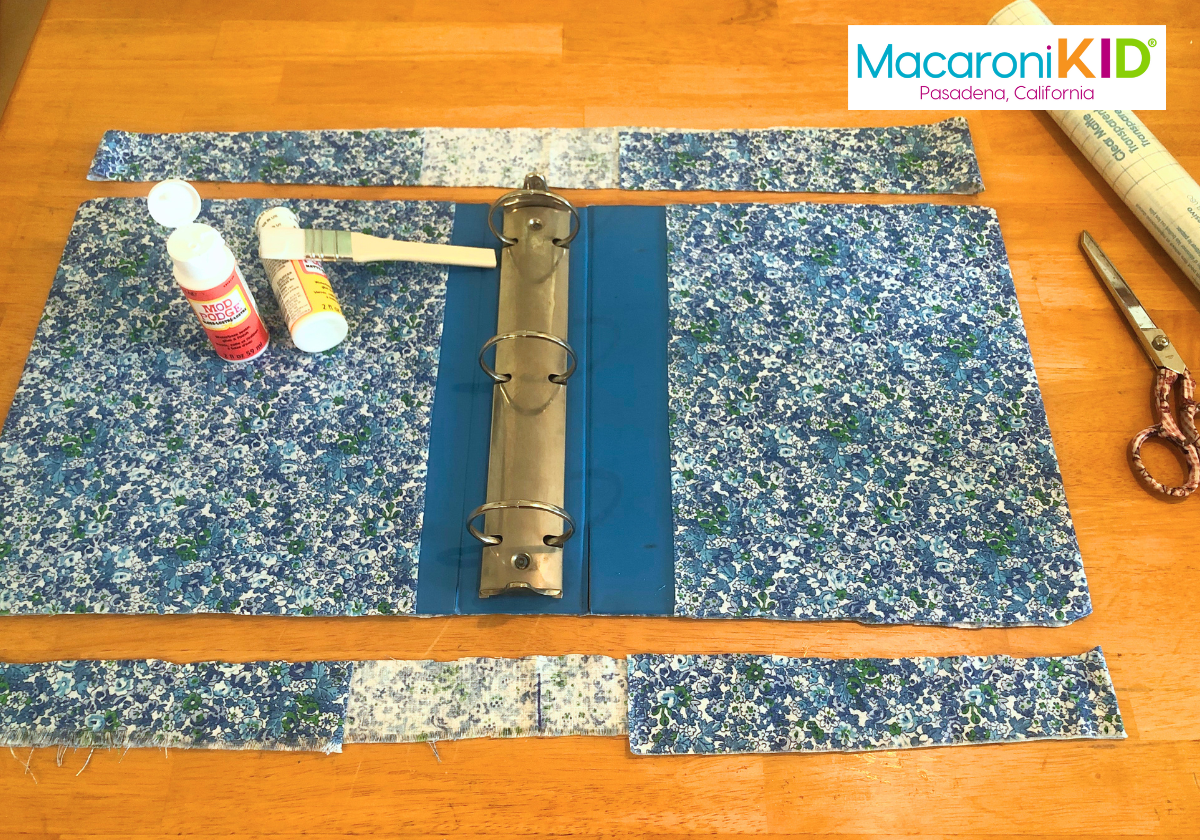 | ||
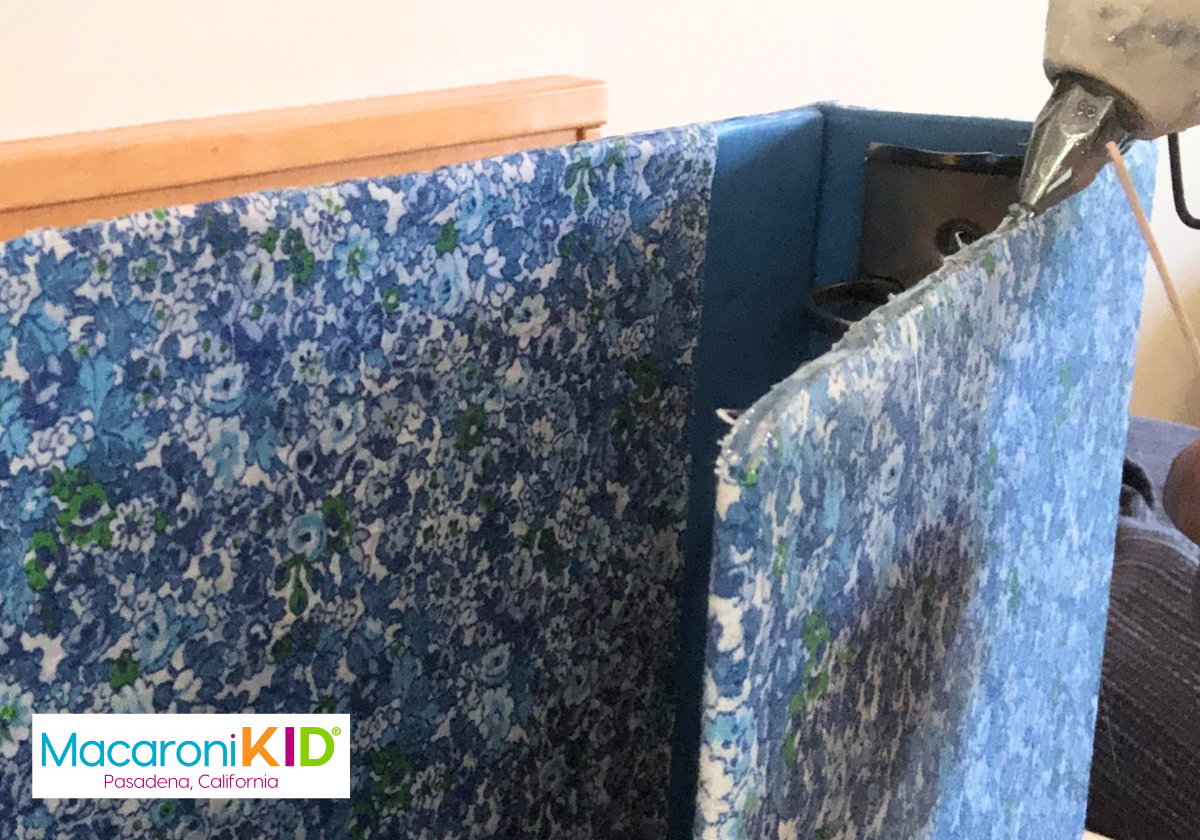
Begin covering. Cover the spine and back-side of your binder in a thin layer of decoupage glue, spray adhesive, or whatever extra glue you have on hand. If you prefer, double-sided foam tape will give your recovered binder a slightly spongy texture (though you have to lay pieces carefully to ensure there are no weird gaps or overlaps). Align the center of the binder’s spine with the center marks you made on the reverse side of your cover material. Ensure it is squared up and press the glue-covered spine onto the cover material. Open the back of the binder and press it onto the cover material as well. Fold the loose material over the back flap, then flip the binder over, so the material pattern is facing you, attached to the binder. Smooth it down carefully to encourage adherence and flatten out any wrinkles before the glue sets. Leave it to dry. Cover the outside front cover of the binder with the same adhesive material and smooth the material over it, folding the extra over the flap. Then adhere the material in the same manner to the inside flaps of both the front and back covers. If your material is longer than needed, you can trim off the extra length about ¼ inch past where the metal binding attaches to the inside of the binder’s spine. Use a popsicle stick or the tip of closed scissors to slide the edge of the fabric under the metal binding. Allow the adhesive to dry fully. Trim and seal. With sharp scissors, cut along the top and bottom edges of the binder, removing the extra material and creating a smooth edge. Because I used woven fabric as my cover material, I coated this edge with fray check to help prevent the edges from becoming ragged later on, this is optional. Whether you are using paper of fabric, it is best to seal these edges with a thin bead of hot glue. Warm up your hot glue gun and extrude a thin bead along a portion of the unfinished edge. Using a popsicle stick or silicone finger protector, carefully smooth out the glue bead over the cut edge, sealing and covering it while flattening the glue to the material. Work in increments of 3 to 5 inches at a time so you can smooth down the glue before it solidifies. Once the top and bottom edges are covered and cooled, you can use an Xacto knife to trim off any rough bumps, and you’re ready to decoupage. | ||
 | ||
Decoupage Away. Open the binder flaps fully and lay it on the metal rings with the patterned cover facing up. If you plan to add any flat embellishments to the cover or spine, now is the time. Coat the entire outside with decoupage glue. Then set the binder upright (vertically) on the table, with the flaps at about a 45 degree angle and allow to dry. Next, lay the binder open with the rings and inside facing up and coat the inside with decoupage glue. Be sure to coat just beyond the edge of the cover material so it won’t curl up. Allow to dry. Touch up. If you added any embellishments, you’ll want to add a second coat of decoupage glue over the top of them. It’s also a good idea to run your hands over the cover, seeking any spots you may have missed or covered too thinly and touching them up with your remaining decoupage glue. Use your Xacto knife to trim any corners or bits that do not feel smooth. Decoupage over the hot glue edges to help banish any remaining roughness Enjoy! Once the binder has completely dried, it’s ready to put to use. Fill the rings with filler paper or plastic sleeves, and put your renewed binder to good use. | ||
 | ||