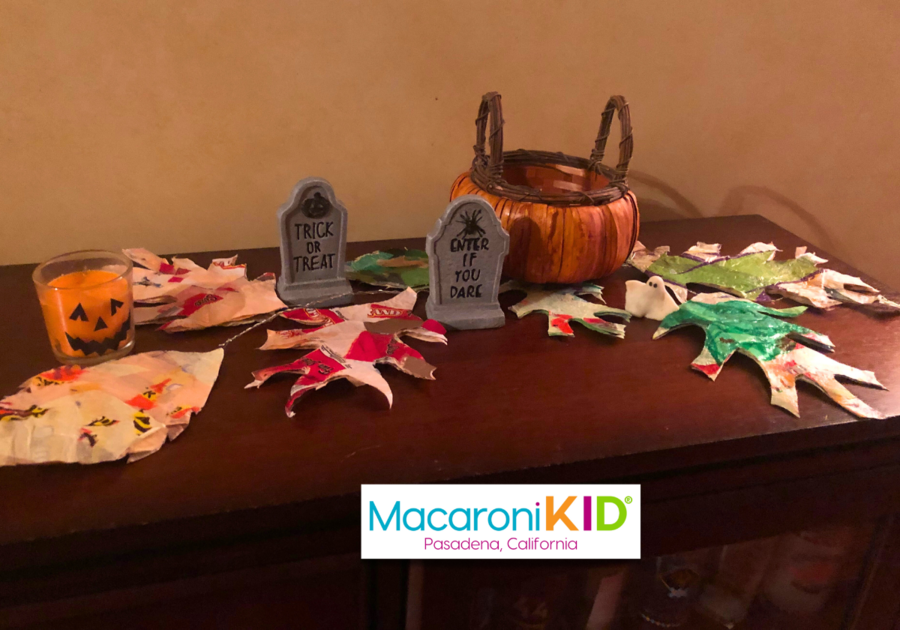
| Make your own durable, weather-proof autumn leaves display at little or no cost - with fun, Halloween detail. | ||
Supplies:
| ||
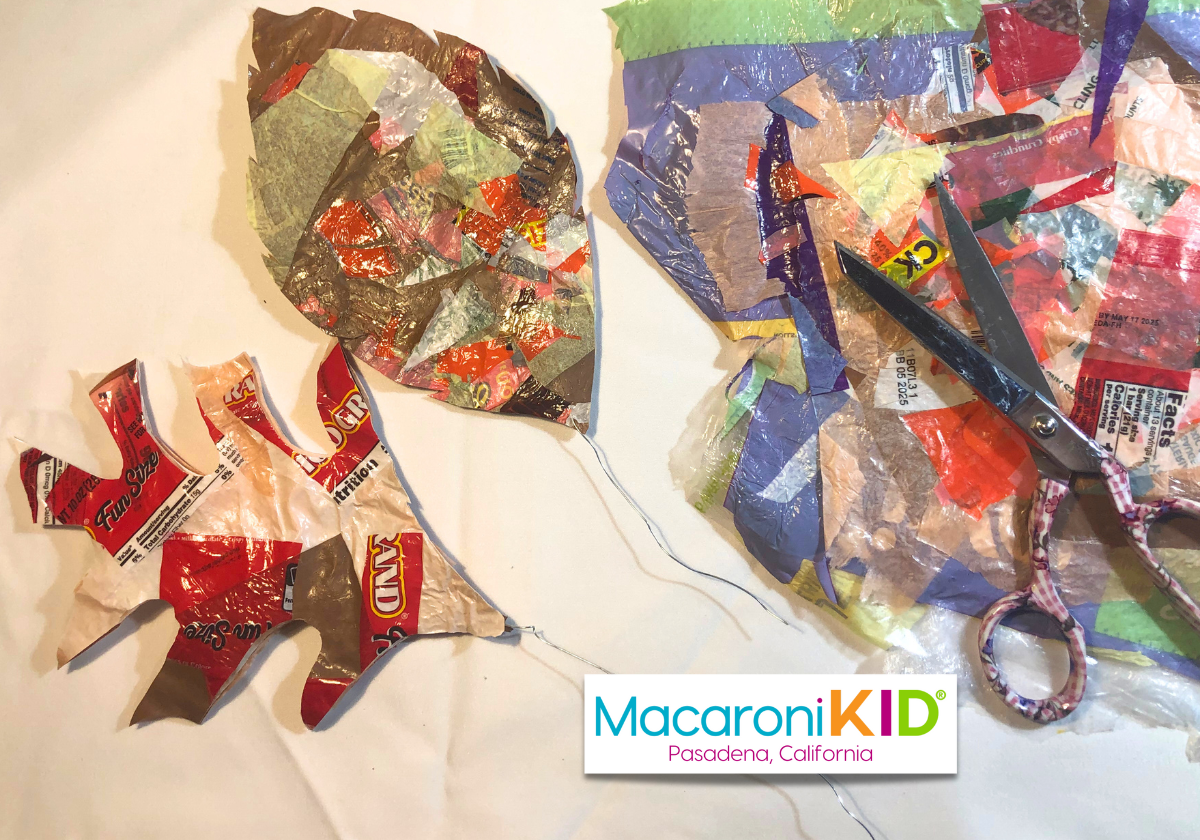 | ||
Instructions: 1. Collect plastic packaging from shopping and household products, be sure to include some of the outer bags from fun-sized candy if at all possible. All autumn colors are good for this project, but clear is also very helpful for layering. You can also use non-autumn colors, such as white, beige and black for the base (inner) piece. 3. Heat up your iron on one of the hotter settings and lay a large piece of parchment paper over the ironing board. | ||
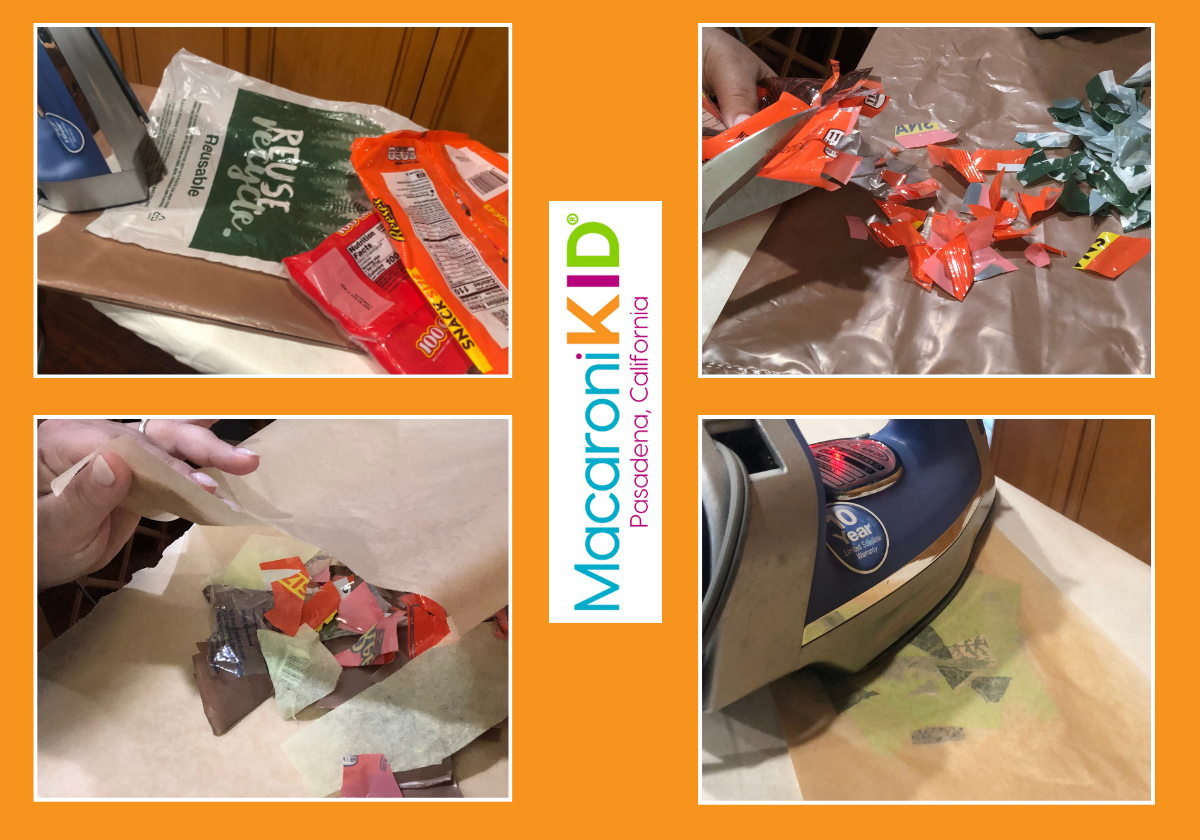 | ||
4. Cut the non-autumn colored plastic into larger strips. Pile and layer them together on top of the parchment so when they are ironed together, they will form plastic sheets that are at least 8 inches wide and 10 inches long. Larger is ok too. Cover with a second piece of parchment paper and iron the plastic smooth and flat. This should take between 30 and 90 seconds. Once you have a good-sized sheet of plastic that is multiple layers thick and has no holes, set it aside and make several more sheets. 5. On top of the parchment, lay one of your completed plastic sheets, and then a mixture of autumn-colored plastic pieces arranged in an overlapping fashion so that all of the base piece is covered. Top that with the second sheet of parchment paper and iron. You can continue to add colored pieces of plastic here and there to make random autumn pattern that you are happy with. 6. Cover all of your plastic sheets with the autumn-colored plastic pieces, and re-iron over any loose spots. Let them cool. | ||
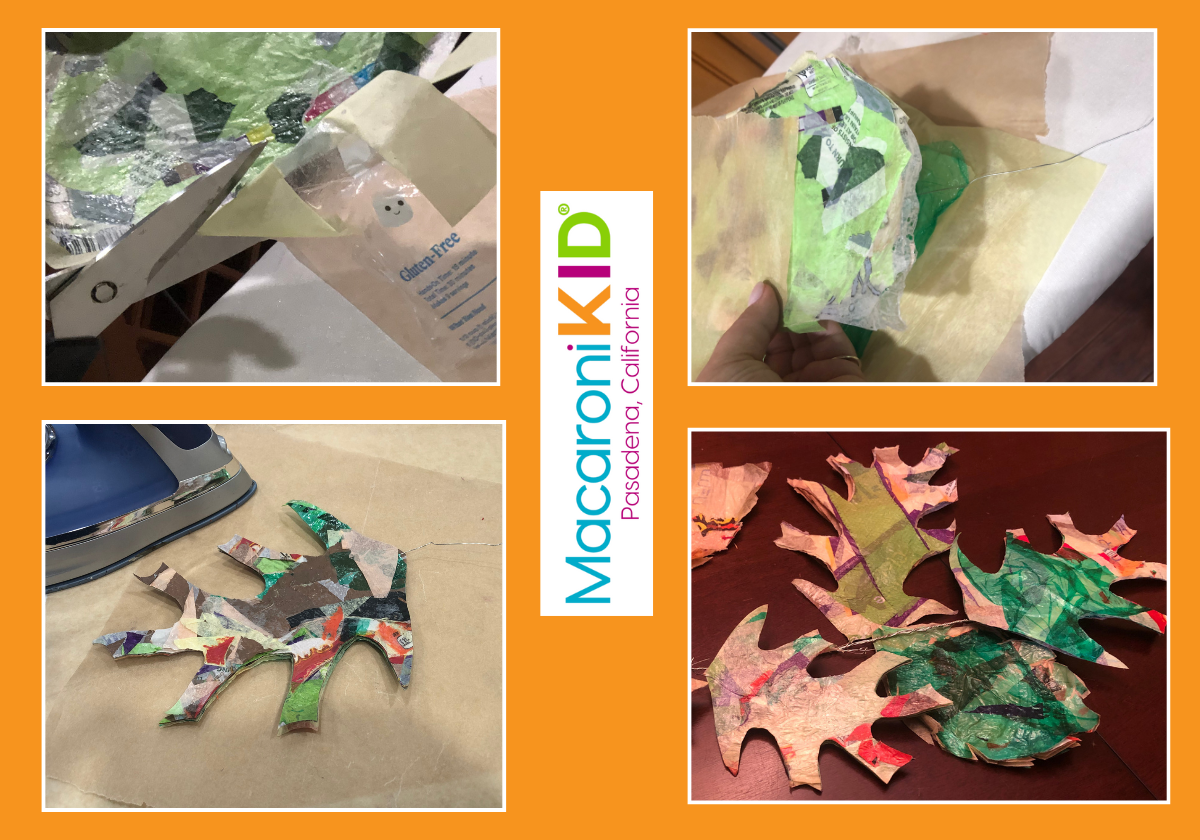 | ||
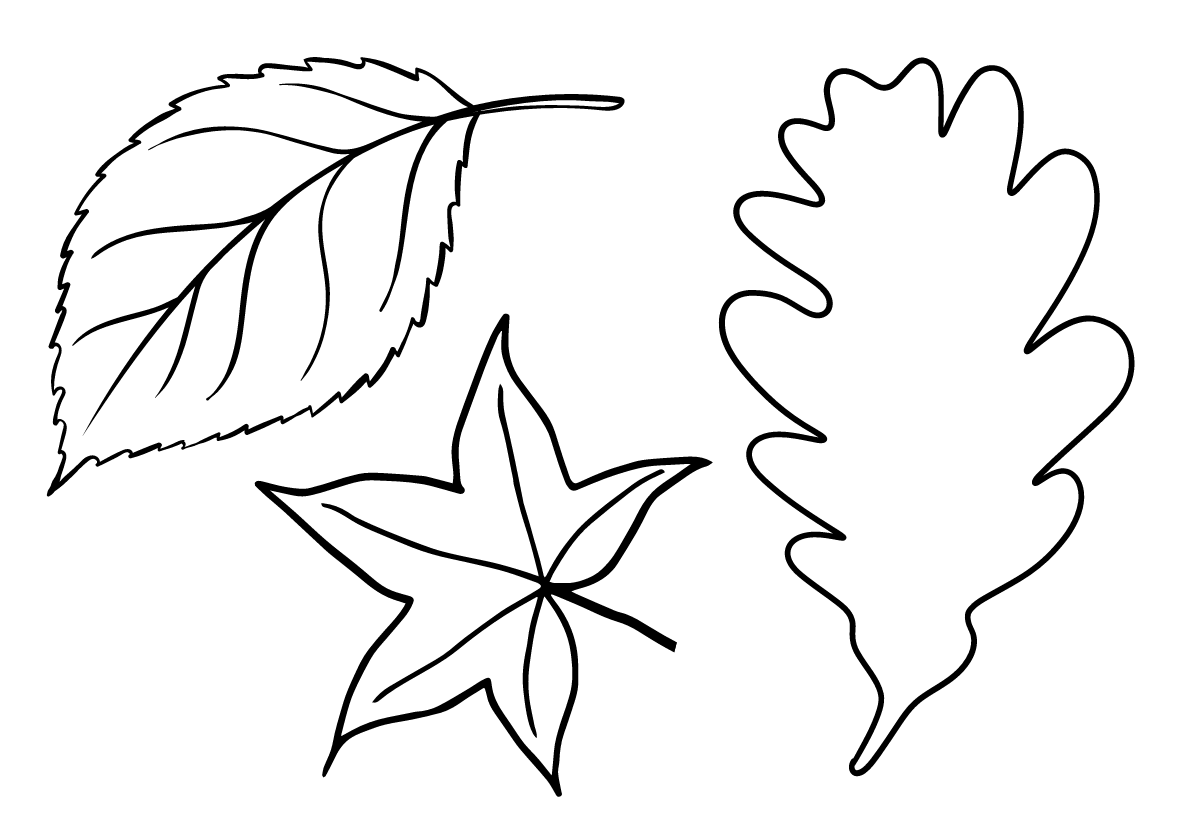
7. Pair up similarly colored plastic sheets back-to-back so both sides have pretty autumn colors. Cut a piece of wire at least 10 inches long and lay it in-between the two paired sheets, with at least 4 inches of wire sticking out of one end. This will become the leaf stem. Sandwich this between parchment and iron until fully adhered. 8. Print out the leaf template or make you own leaf shape. It’s best to use cardstock or thin cardboard as your template, but plain paper works too. Lay your template over your completed autumn-colored plastic sheets, making sure to align the stem of the template with the wire. Hold firmly and trace with your scissors to cut a leaf shape out of the plastic. 9. Once you have several leaves made, you can twist a vine of additional wire, wrapping the “stem” from each of your leaves into the twisted wire vine to form a garland. Intertwine your new garland between other autumn or Halloween décor to make a cute display. | ||
 | ||

