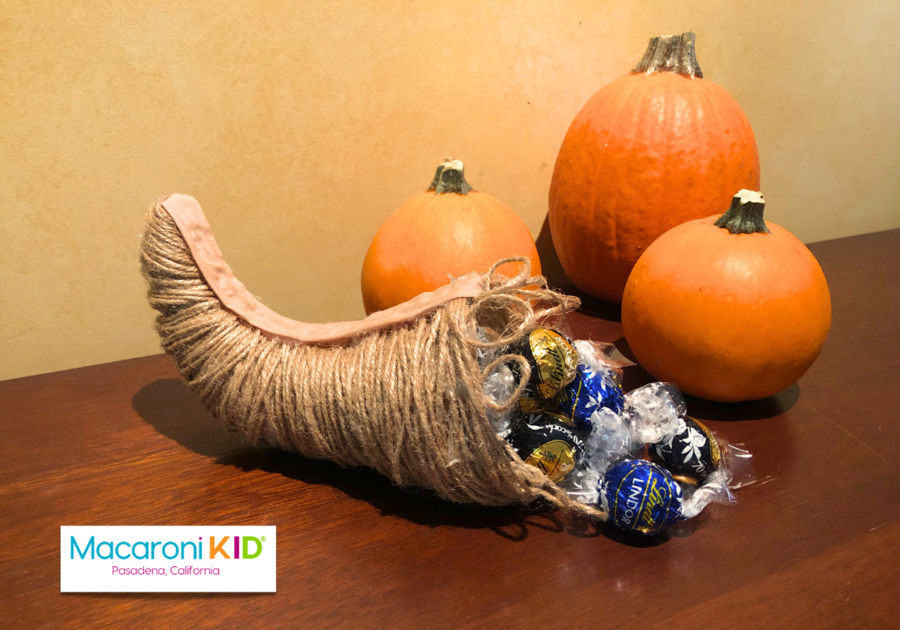
Cornucopias are fun to make and give us the opportunity to teach children about being grateful for the abundance we have. Below are detailed instructions for how to make an actually pretty simple project. Universally recognized symbol of plenty Cornucopias origins come from Greek and Roman Mythology. At some point the traditional ancient goat horn was replaced by the horn-shaped basket, usually made of wicker, that we recognize today. In modern times, cornucopias are often closely associated with Thanksgiving in recognition of our appreciation of abundance. Your cornucopia project need not be perfectly symmetrical nor made of luxurious materials. In fact, sometimes it seems most meaningful when it’s imperfect, but filled with something you love. |
Supplies:
|
Tips: You can make your cornucopia out of jute, twine, string, cord, or rough wool yarn. The material should be somewhat sturdy or coarse; the softer the material, the floppier your cornucopia will be, and the less it will hold up. A thimble or a silicon finger cover from the Dollar Store will help you complete the project without burning your fingertips on the hot glue. |
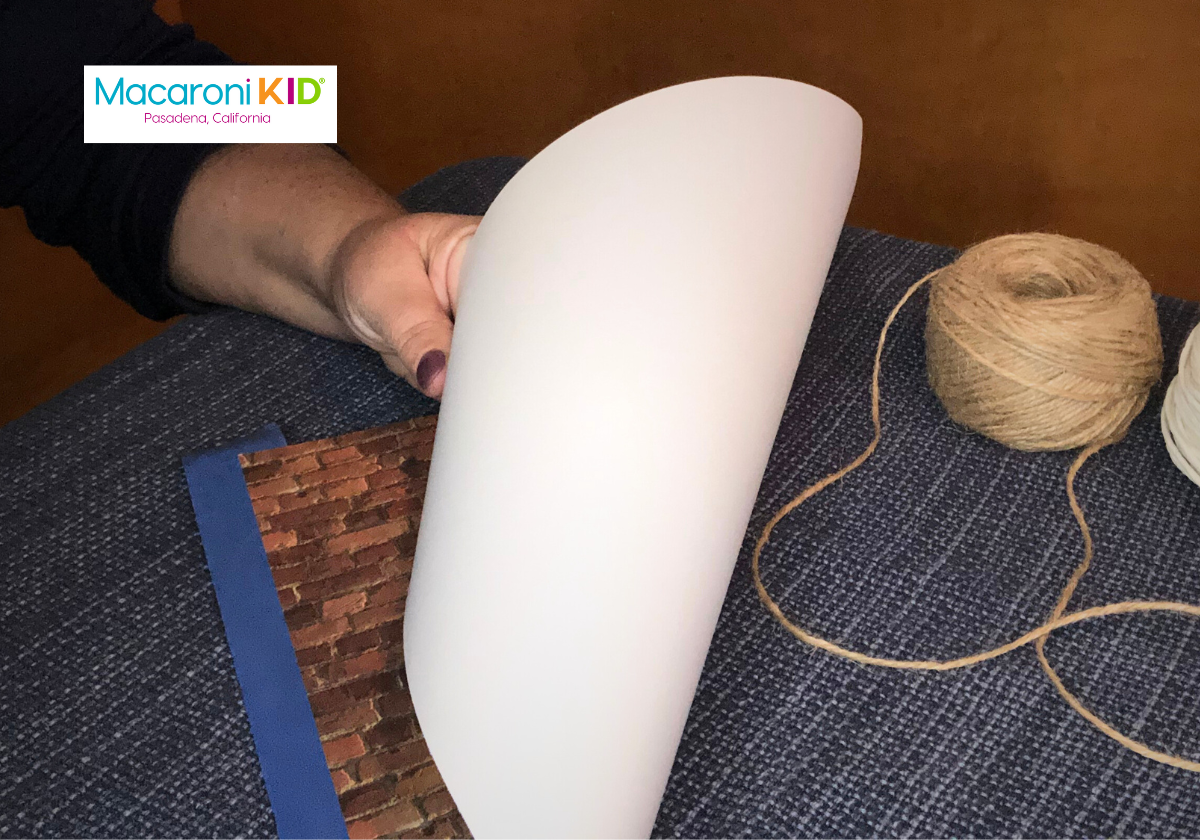
Instructions: 1. Place a long piece of tape along one edge of the cardstock, sticky side up. The tape should be halfway adhered to the paper and halfway exposed, lengthwise.2. Curve the cardstock so that the adjacent edge lines up with the taped edge, forming a cone shape. Attach the second edge to the exposed half of the tape. By placing your hand inside the cone, you can slide your finger down the edge, adhering it to the tape. You should now have a sturdy cone to serve as a support for your project. |
 |
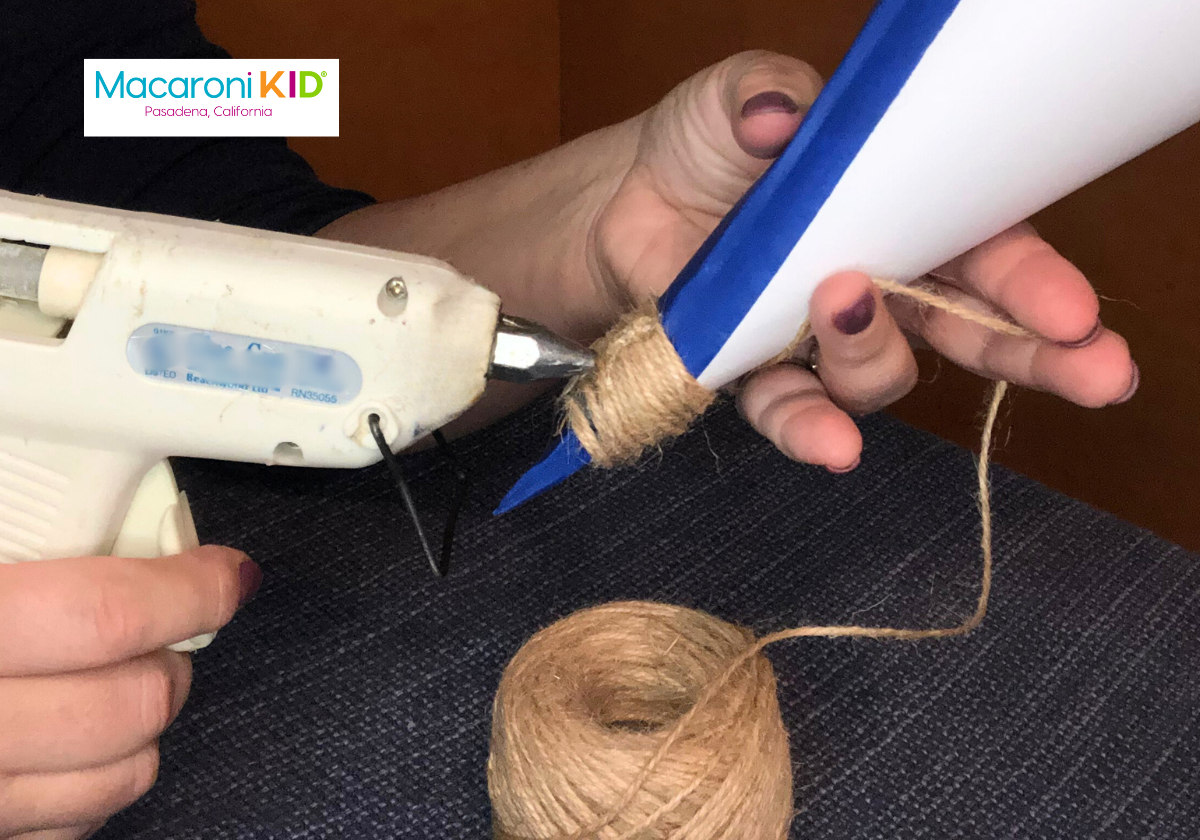
3. Wrap the twine around the cone several times near the tip. Carefully place a bead of glue atop the twine on one side. While the glue is still hot, wrap the twine around several more times right on top of the previously wrapped twine, and placing the newly wrapped twine right into the glue. 4. Wrap the twine around the cone 3 to 4 more times, just above the previous wrappings. Place another bead of glue atop the new wrappings, right next to the previous bead of glue. Wrap another 3 to 4 wraps of twine on top of the last, placing the twine into the glue. When the first bead of glue has cooled to warm, press down on the twine, setting it deeper into the warm glue. 5. Continue step 4 many more times, wrapping above, placing a bead of glue, then wrapping on top, then pressing down on the previous bead of glue. Continue wrapping until you either reach the wide end of the cone, run out of twine, or feel it looks done. Most of the glue should be attached to the twine and not the cone directly. |
 |
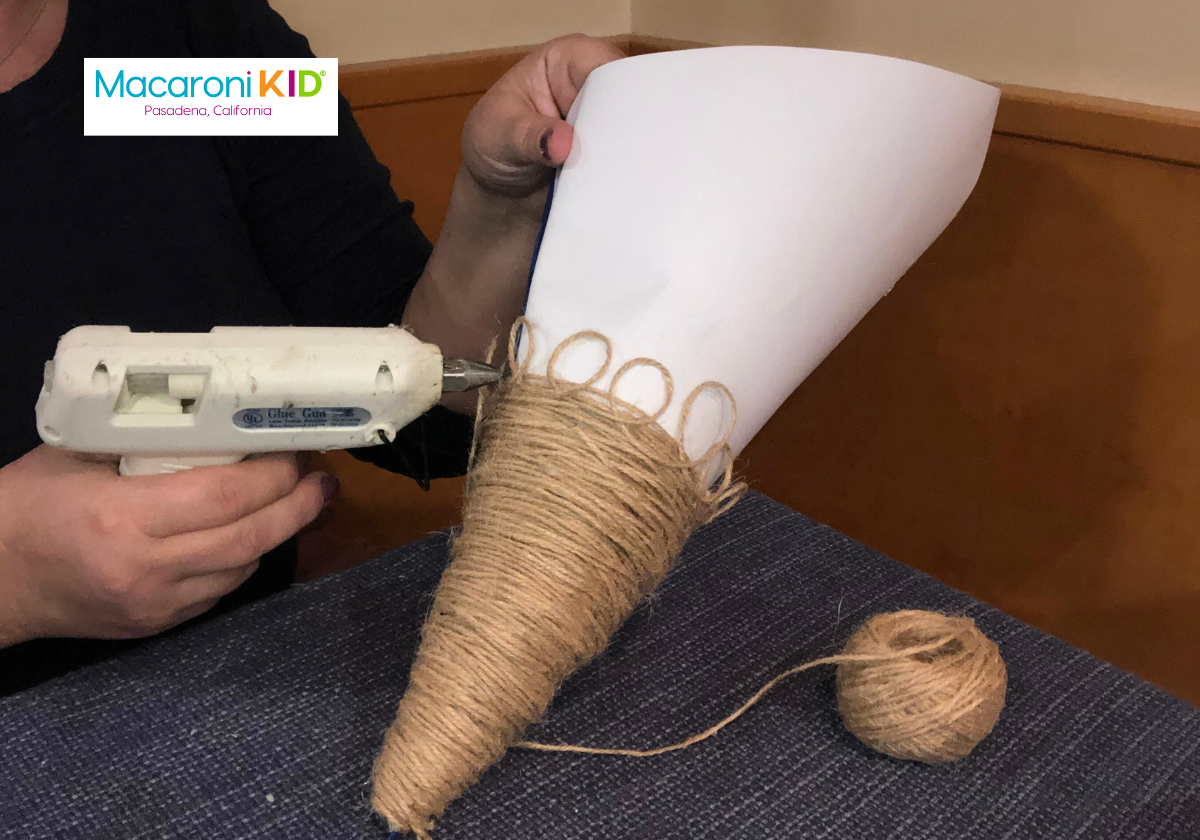
6. Optional: make a decorative outer edge on your cornucopia by looping the twine in small loops all the way around the cornucopia’s mouth and securing each loop with a tiny drop of hot glue at its base. (See pic). 7. When all of the hot glue has cooled, you can remove the paper cone. Crush the cone with one hand, then while holding the cornucopia firmly with the other hand, and pull the cone out. (Don’t do this until all of your twine wrapping is complete). Your cornucopia is now an empty string of graduated twine loops. You’ll notice that one side (probably the bottom) is flexible, while the other side where the glue is (probably the top) is mostly adhered together.Without playing with it too much, experiment with the amount of curve you want to create by lifting the tail up. 8. Lay out a ribbon that is a little more than twice the length of your cornucopia. Glue a zigzag of hot glue from one end to the middle of the length of ribbon. Carefully lifting the glued end of the ribbon while the glue is still hot, place it as far inside the cornucopia as you can reach, touching it to the inside of the top (near the tip of the tail) and along the glued portion of the project. You may need to use a chopstick or closed pair of scissors to press it down and adhere the glue to the twine. This ribbon will maintain the curve of the cornucopia, so be sure to place it as curled as you like while adhering the glue. The other half of the ribbon should be flopping out of the cornucopia’s mouth at this point. 9. Lay the rest of the ribbon along the top of the cornucopia to measure it, trimming the ribbon at ½ to 1 inch longer than the tail. Snip it short if necessary. Zigzag hot glue along the rest of the ribbon and secure it along the outside of the glued area from mouth the tail. Fold the loose end of the ribbon under itself at the tip and use a second dollop of glue to secure it to the cornucopia’s tail. Now glue the tail closed, pinching into a pointed tip. 10. Display your cornucopia in a prominent location with candy, small fruits or harvest decorations coming out of it. |
 |
If your cornucopia is too floppy and doesn’t stand up nicely: make another cone of cardstock and fold the angled end of the cone’s mouth so it stand up straight on the table. Place your cornucopia over the paper cone, laying the twine as evenly as you can. Paint over the whole outside with a mixture of white glue and warm water and allow to dry thoroughly. Once removed from the cone again, your cornucopia should stand up nicely. |


