Kate’s Perfect Apple Pie | |
 | |
When I first relocated to California over 20 years ago, I was so confused about the apple varieties available locally. The Cortland apples I had relied upon for my apple pies were nowhere to be found, and it seemed no produce manager had even heard of them. What was worse is that even my beloved MacIntoshes, an all-around mainstay in the northeast, were considered unusual and hard to locate in the greater Los Angeles area. Slowly, I worked my way through the locally available varieties and tried to figure out which ones were best for eating, for homemade applesauce and, most importantly, for pies. Fujis, pink ladies, jazz, and others were not quite right. Galas are OK for pie, and will serve in a pinch. But none were perfect in my opinion, until I found the Honeycrisp. | |
Honeycrisp are sweet enough for eating plain, and lack the tartness that can overwhelm a pie. And best yet, the texture is firm enough to hold up during baking. Inside of a pie, apple slices should remain moist yet separate. I don’t want to eat applesauce pie; I need good texture! Over the years, I’ve played with the spices a bit, too. At first glance, this recipe may appear to be overly simple. But I’ve been changing up the spices and asking for feedback for years. Byfar, the most universally enjoyed is a combination of cinnamon and vanilla without any other spices (like nutmeg, ginger, or clove) to muddy the flavor. It’s regarded as a classic version, and loved by a wide variety of tasters. | |
For the crust, just buy it premade! The amount of work that goes into making a good crust from scratch is not worth the effort. My non-scientific survey and general prodding of my loved ones for feedback has encouraged me to give up on scratch crusts. Most people either prefer the pre-made, refrigerated kind, or can’t decipher a difference. Honestly, I even prefer the store brand over the name brands. What seems to make more of a difference to the diners is how pretty you make it. And I have tips below on how to make a pie look amazing without much effort. | |
Ingredients:
| Other Items needed:
 |
| |
2. Wash, then peel and quarter the apples (quartering them is a good job for delegating to little helpers). With a paring knife, cut the core off of each apple quarter. Next, slice the apples into 1/8 to 1/4 inch slices. I always use the slicing disc on my food processor for this part, and it saves at least a third of the prep time! | 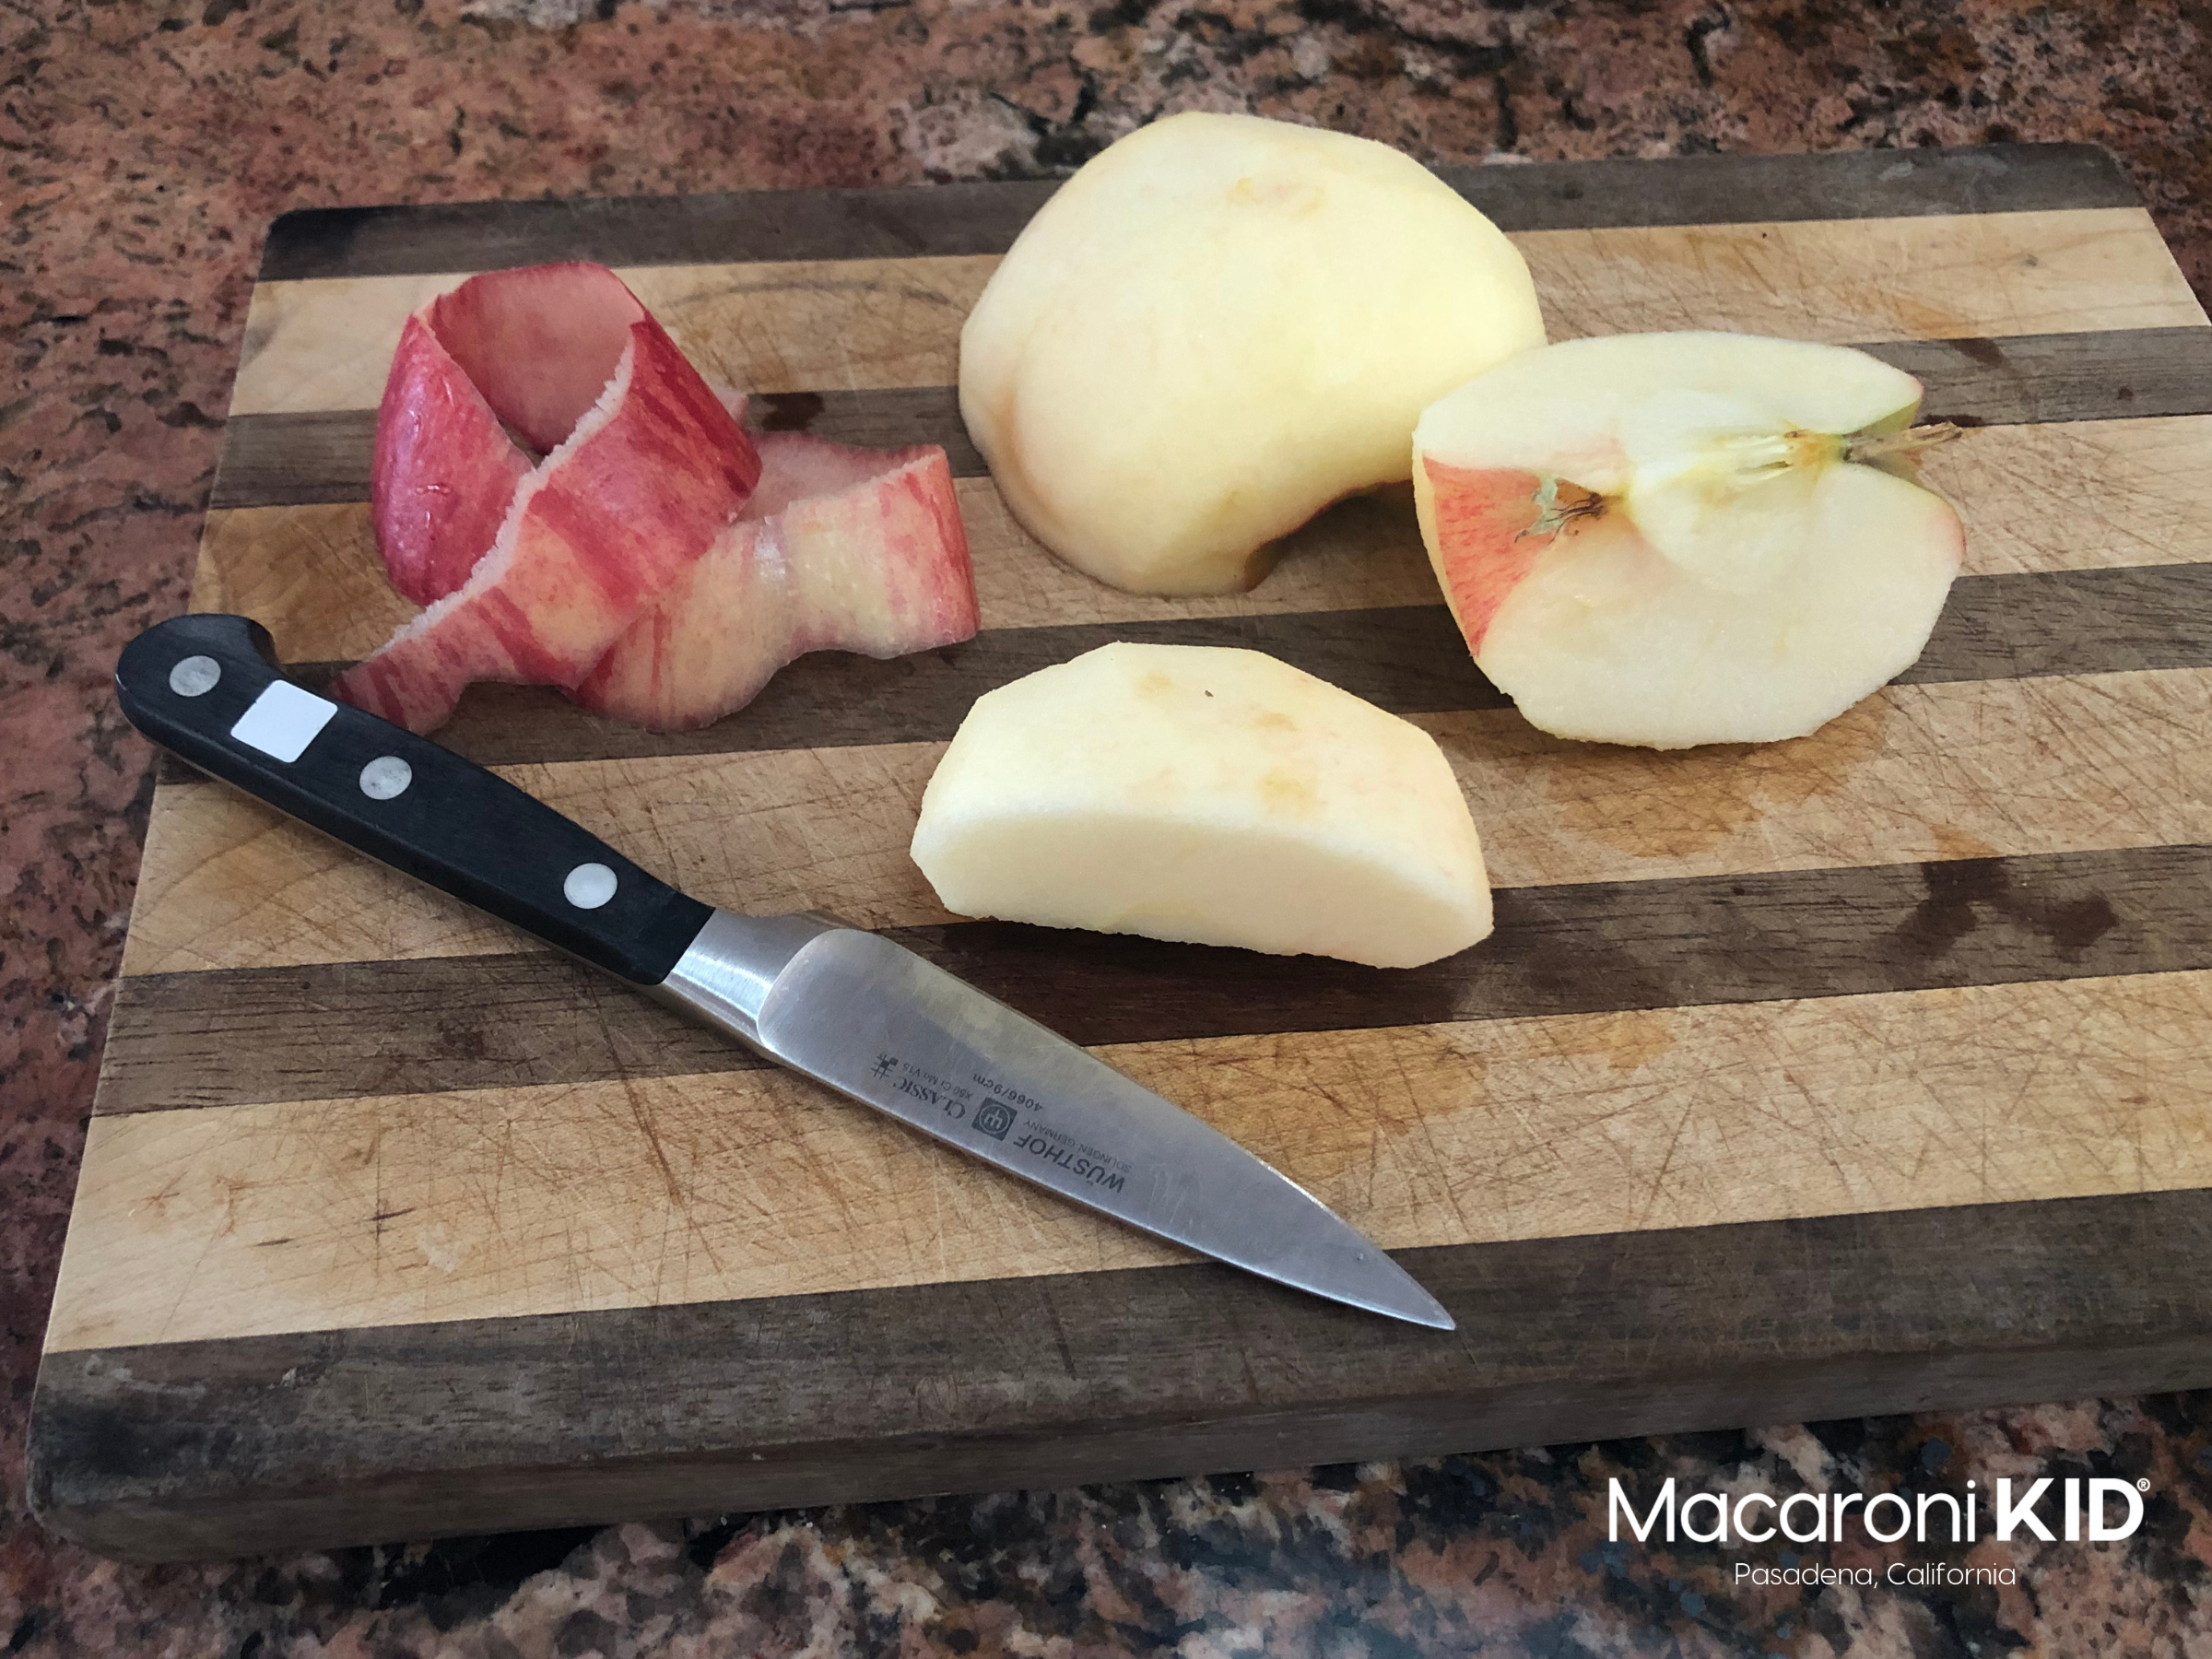 |
3. Melt the butter in a bowl, then add the sugar, cinnamon, vanilla and flour and mix well. Pour this mixture over the sliced apples and mix well to coat all the slices. Let the mixture sit while you work on the crust. The longer the apple mixture sits, the more water oozes out of the apple slices as a result of contact with the sugar. If the apples don’t sit long enough, the pie ends up too soupy. The amount of time it takes to prepare the crust without rushing is about right. | |
4. Spread a small handful of flour over the clean counter, unroll one layer of the crust, and flatten the dough as best you can, pressing together the cracks with your fingers. Dust the top with a bit more flour to prevent the rolling pin from sticking. Then, roll with a rolling pin to increase the size of the circle by an inch or more, rolling until it’s smooth. Sometimes you need to fold it up and re-roll the dough to get it smooth (it’s still a lot faster than making the dough from scratch). Spray your pie plate with a small amount of spray oil. Gently fold the rolled dough in quarters (loosely) to easily transfer it to the pie plate, then unfold and adjust. Smooth the crust across the bottom and edges of the pie plate so the edges lay somewhat flat on the rim. Using a fork, prick the dough in several places along the bottom of the pie.This allows steam to move easily through the pie, preventing bubbles under the bottom crust. | |
5. Now turn the apple mixture out into the pie, heaping the slices up in the middle. | |
6. Unwrap and unroll the second pie crust half onto the counter, dusting both under and atop it with a small handful of four.The second circle of crust should be softer than the first as it’s been sitting at room temperature longer.Roll the crust out until smooth and larger than the pie plate. Gently folding in half and half again, transfer the crust to the top of the pie and smooth around the edges. Using a sharp knife, slice around the rim of the pan, removing all the extra crust from the outer edge. | |
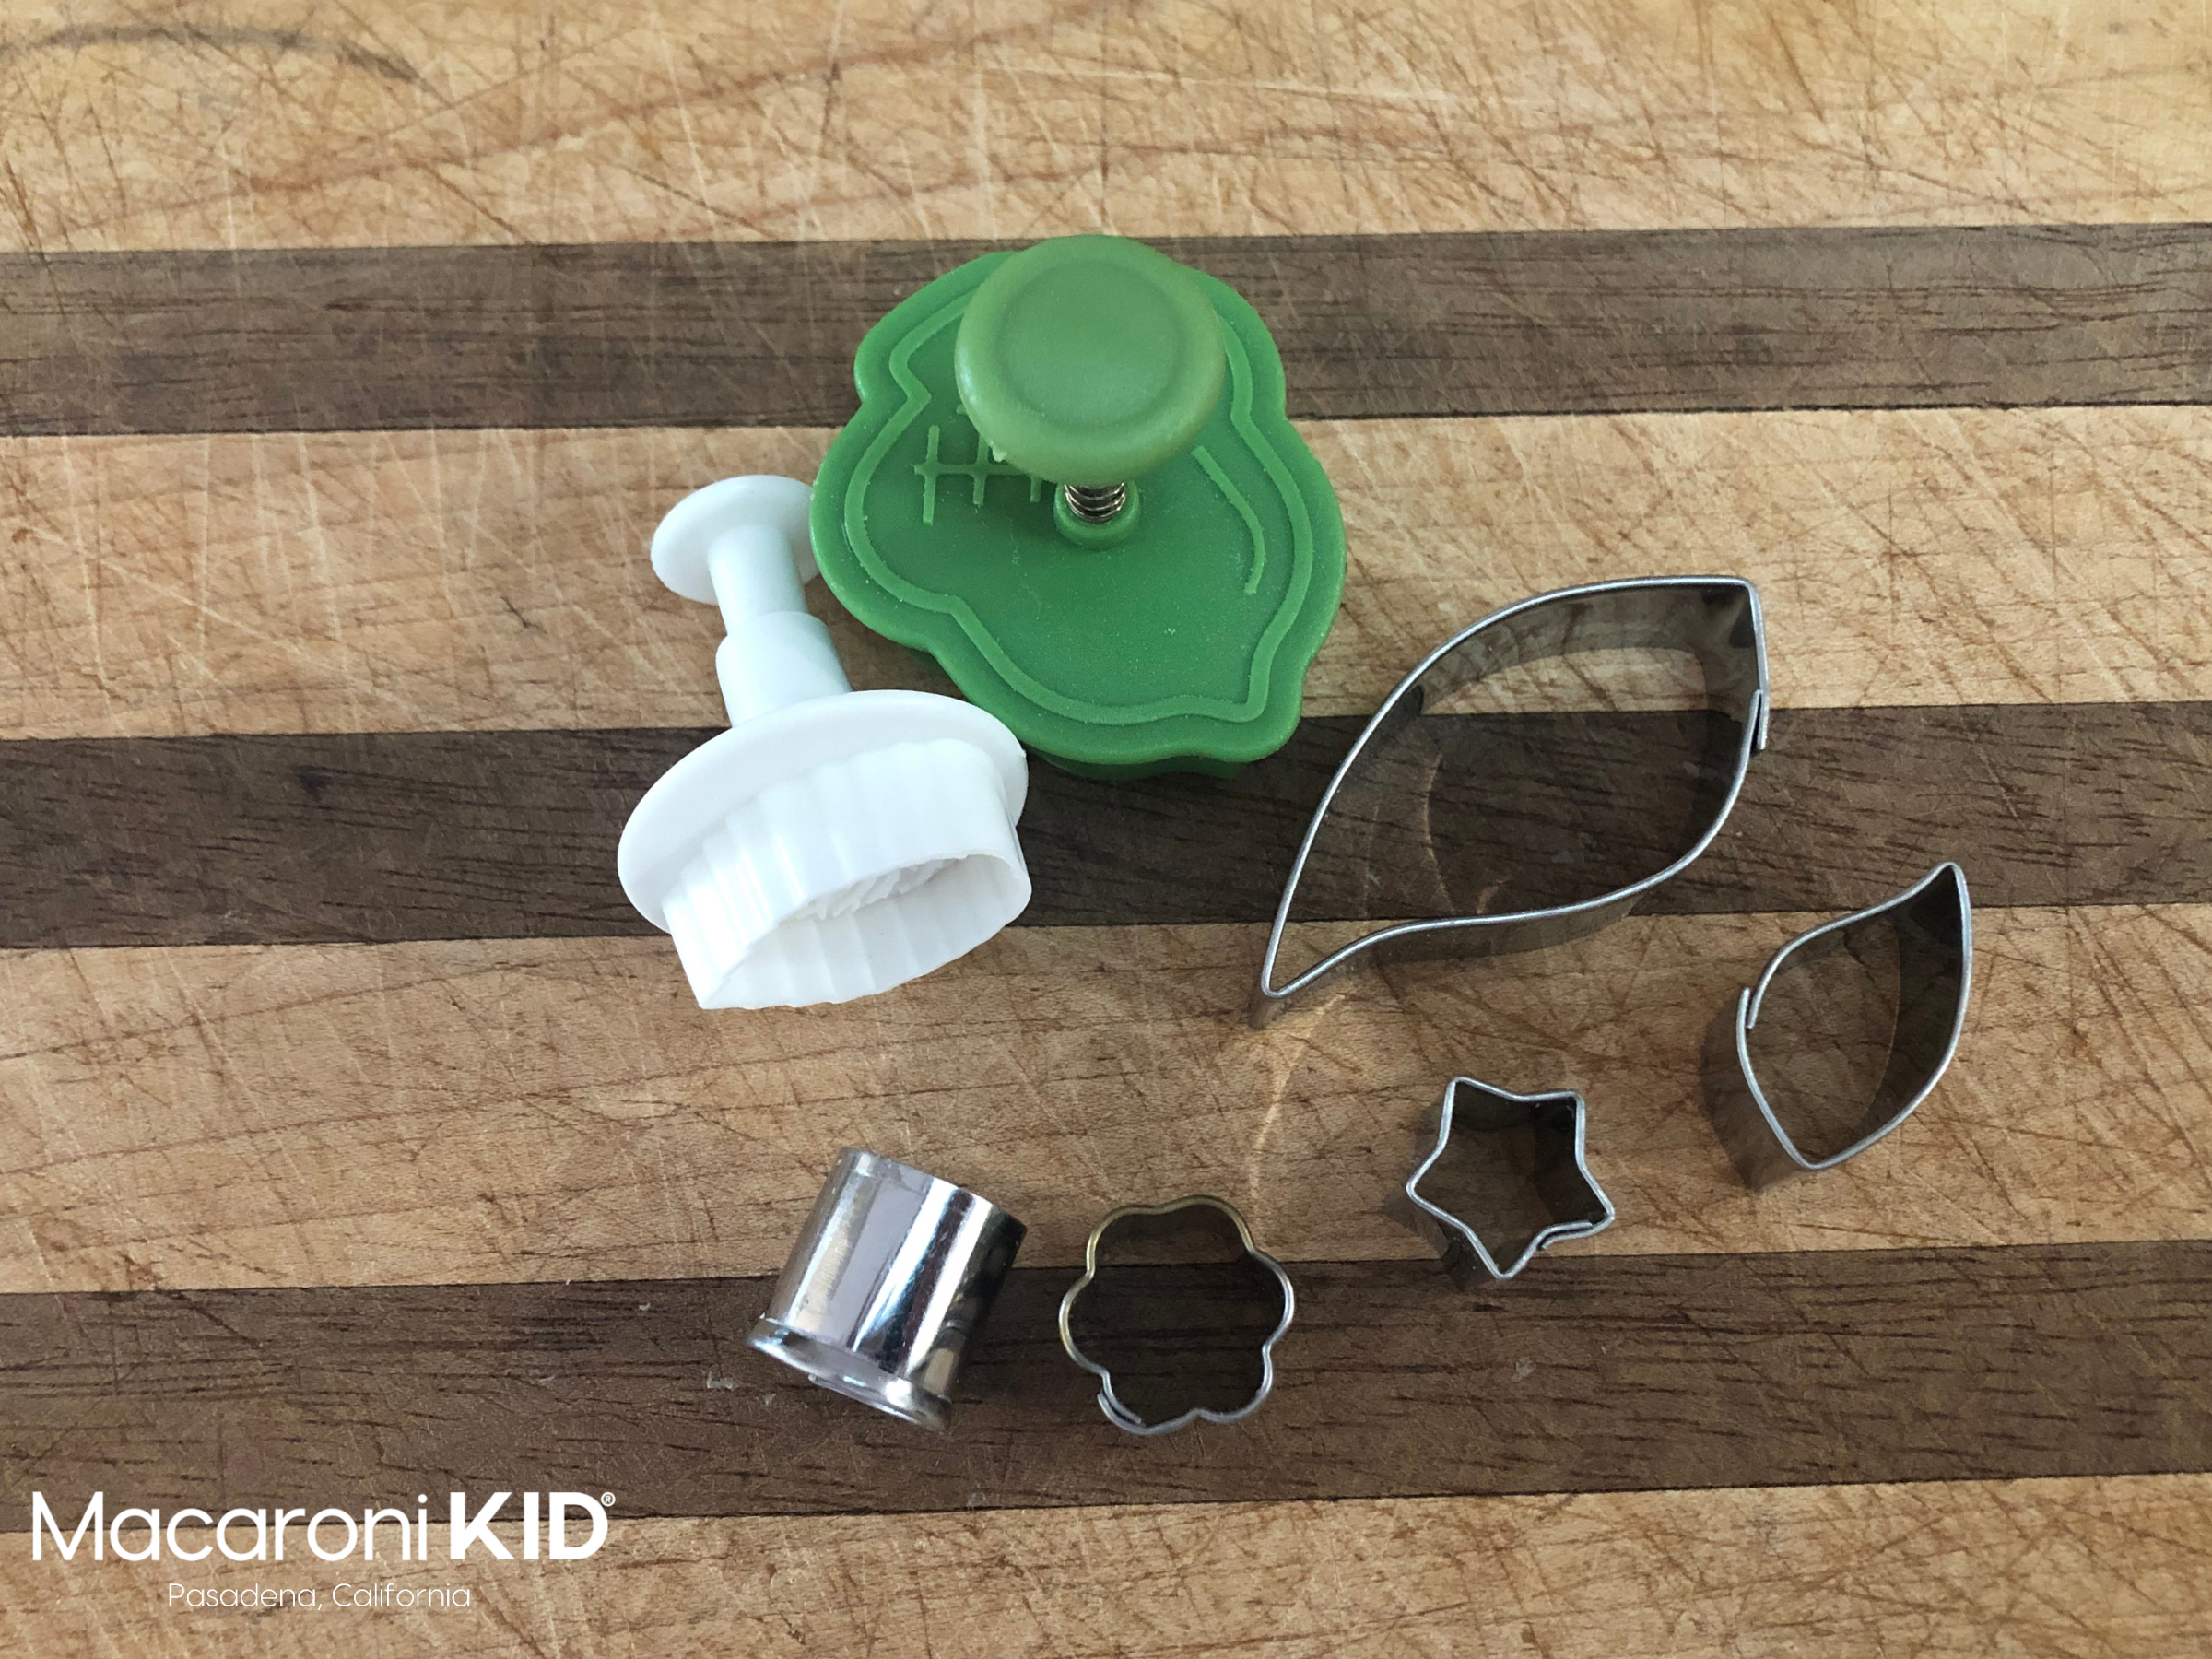
7. Now, to decorate! Take the irregular scraps of crust you’ve removed, and kneed them into a ball. Using flour above and below, roll the dough out to about the same thickness as the other two pieces. Use your smallest cookie cutters to cut dough pieces and your imagination to decorate all around the outer edges of the pie, covering the cut edge. Leaf shapes and fall motives are great, but circles, stars and hearts work well too. You can get your little helpers involved in this part if you like, or decorate it yourself making it elegant. Continue the decoration however you like to the middle of the pie. Be sure to pierce the top crust with some decorative holes to let the steam escape. | 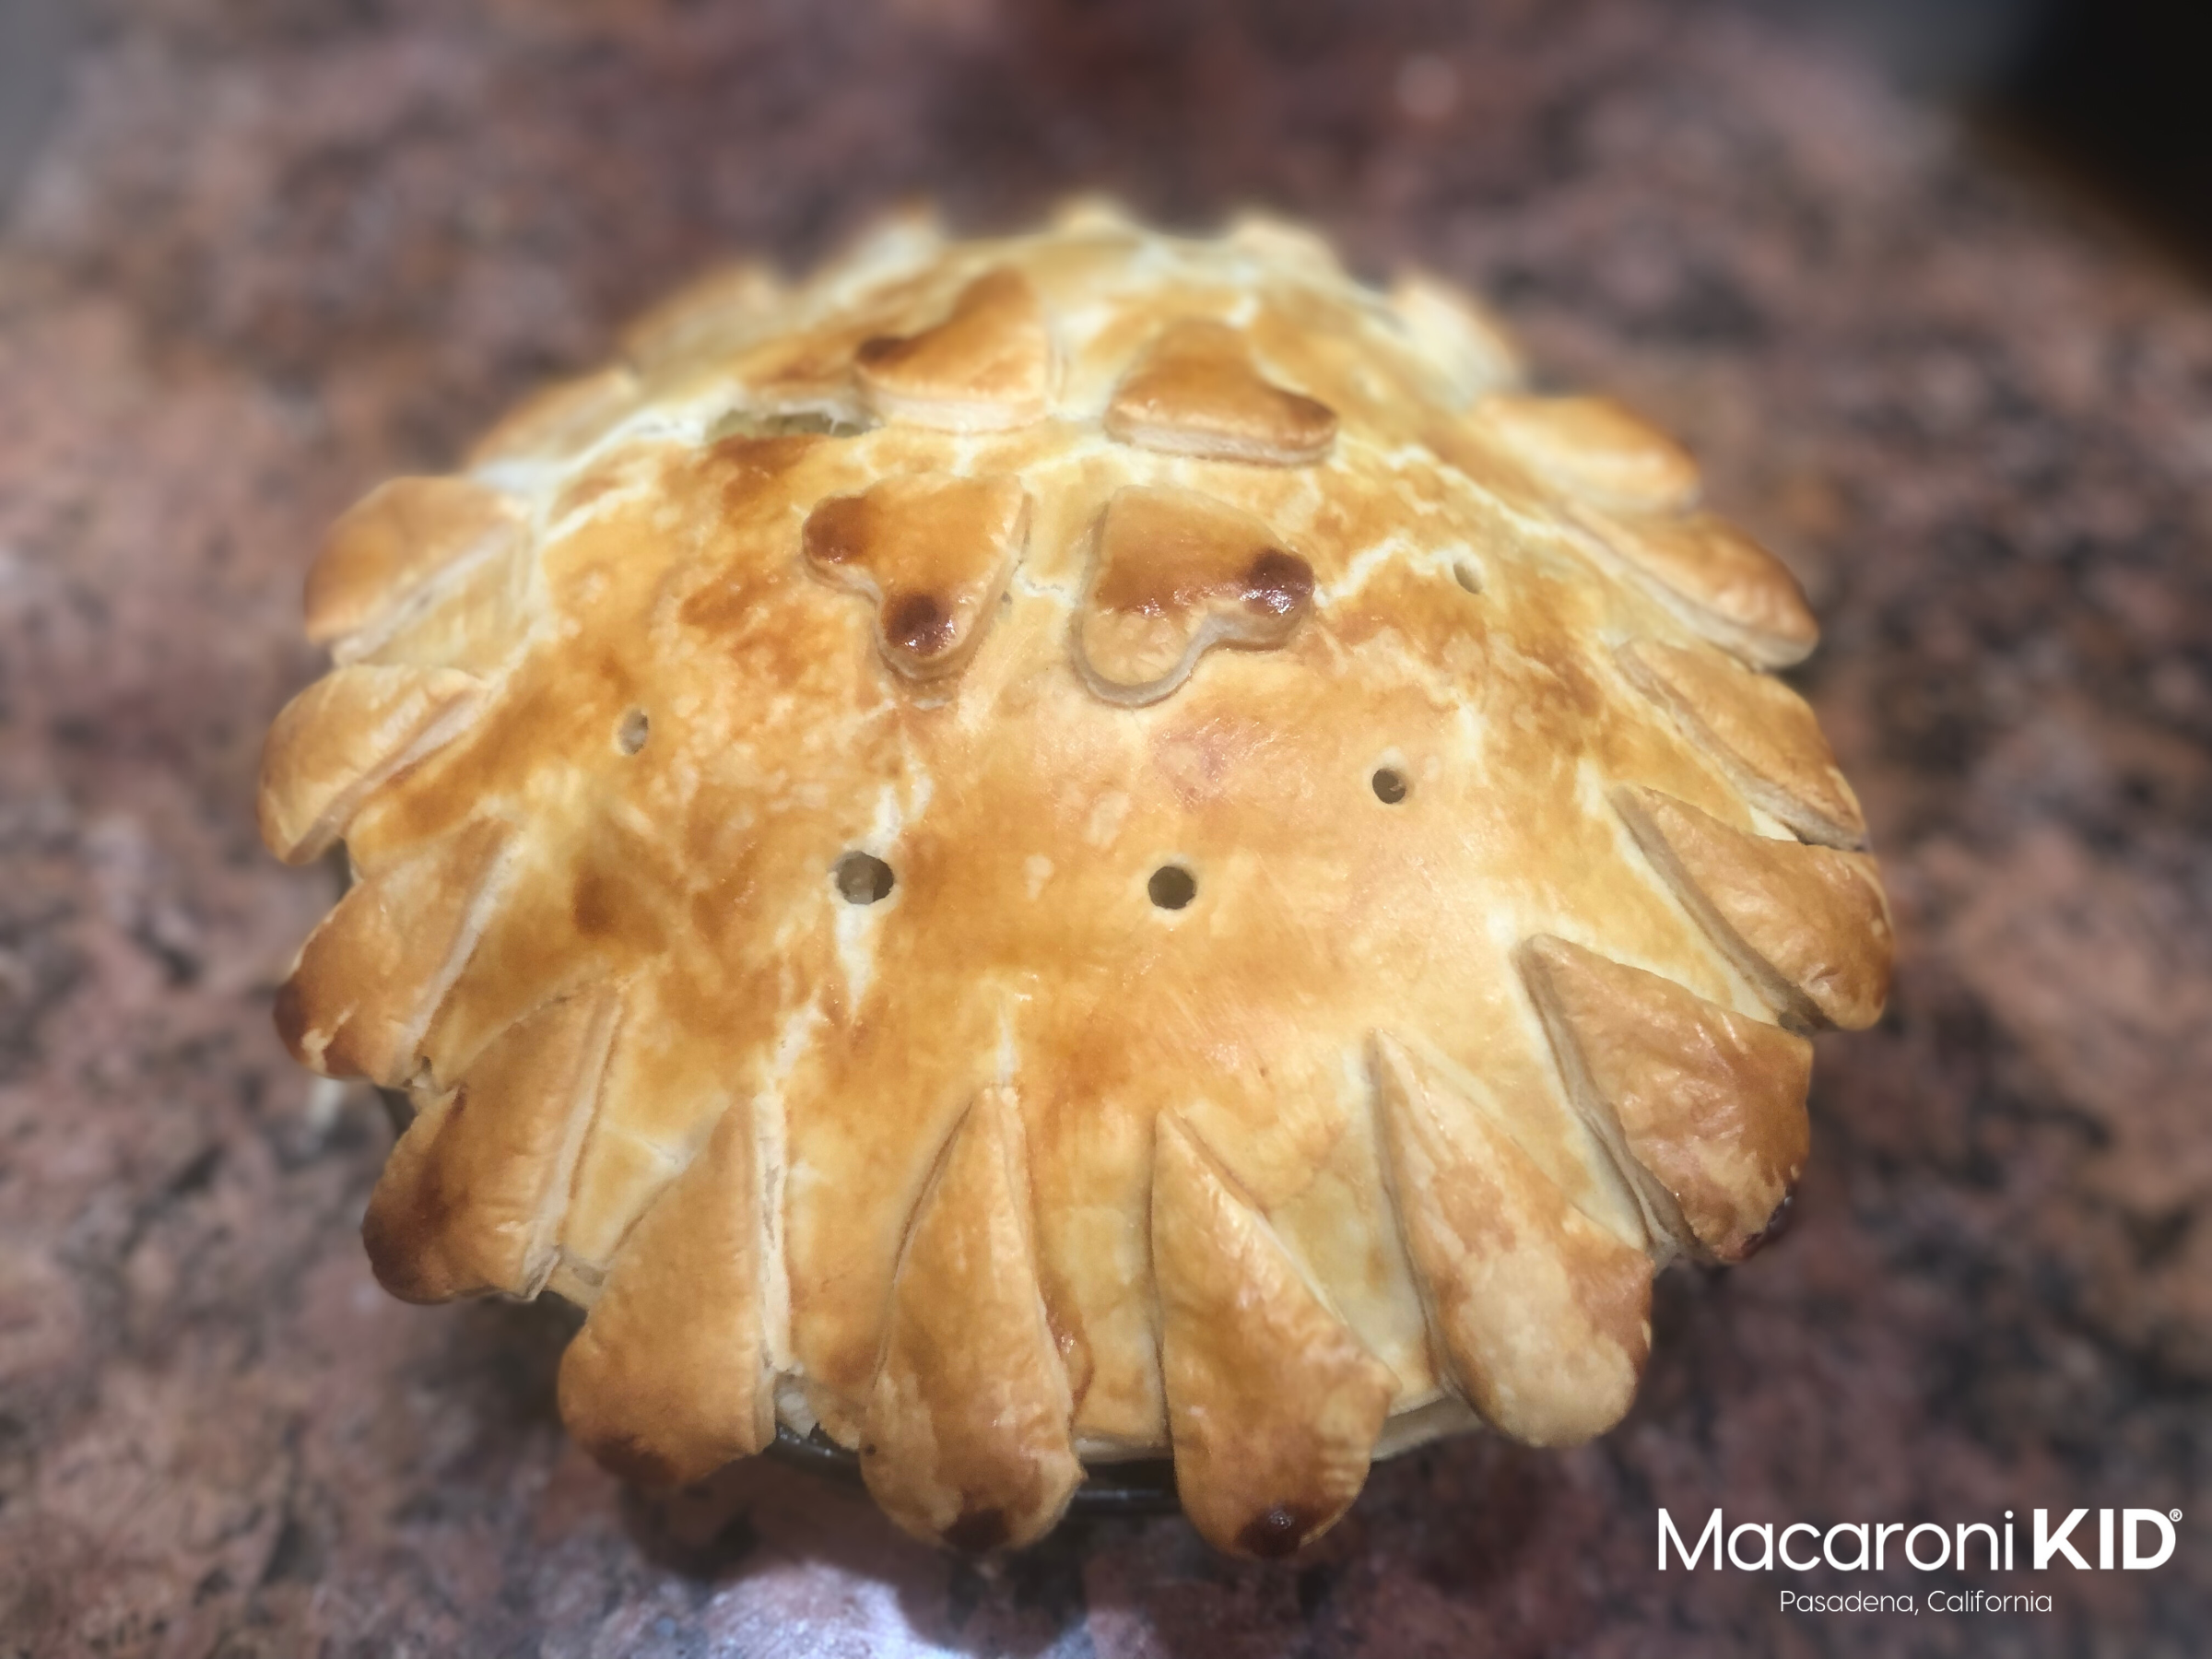 |
8. Crack and separate the egg, then beat the egg white with the milk using a fork. Using a pastry or basting brush, brush the mixture over the top of the pie, liberally covering the cookie-cutter shapes (the egg acts like glue, bonding the dough together). If you like, sprinkle the top with a small amount of raw sugar. | |
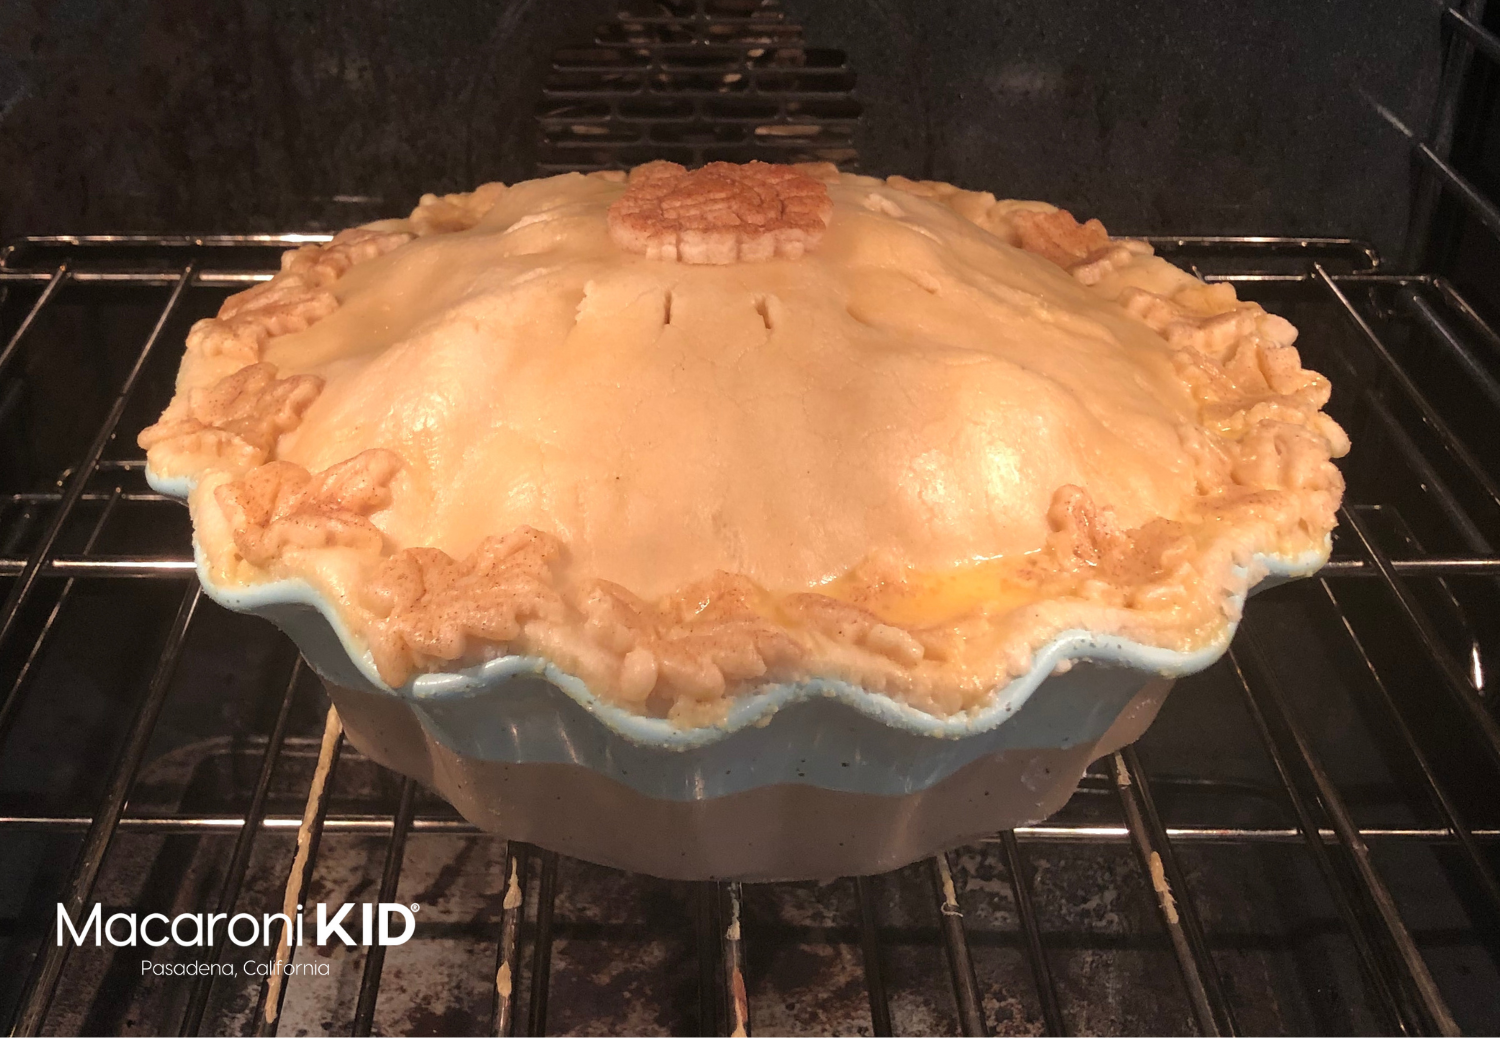
9. Bake at 350o for about 35 to 45 minutes, until golden brown on top. Let cool before slicing and serving. | |